Mould in the bathroom is a common problem faced by many homeowners. It not only mars the appearance of your bathroom but also poses serious health risks. If left untreated, mould can spread and become more challenging to remove. This article will guide you through the process of getting rid of mould in your bathroom, highlighting key steps, best practices, and preventative measures.
What is Bathroom Mould and Why It Forms
Mould is a type of fungus that grows in warm, damp places like bathrooms. It produces tiny spores that float in the air. When these spores land on a wet surface, they can grow into the fuzzy splotches we know as mould.
Bathrooms provide ideal conditions for mould growth because of the warm, humid environment. As we shower, moisture condenses on the walls, ceiling, tiles, grout, and other surfaces. If the moisture isn’t properly ventilated, it allows mould colonies to thrive. This is where you will come across the need to remove bathroom mould.
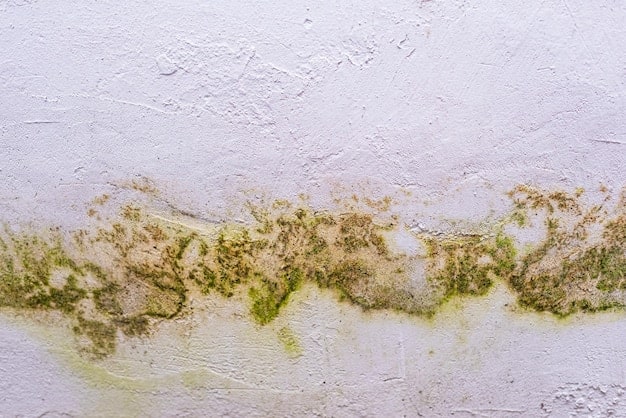
The most common mould seen in bathrooms is black mould. This dark grey or black fungus grows on areas like drywall, tile grout, and caulk. Other typical mould colors include green, brown, and pink. The specific species depends on factors like moisture levels, sunlight, and nutrients available.
Common Types of Mould Found in Bathrooms
There are several types of mould that can grow in your bathroom, but the most common include:
- Aspergillus: Often found on damp walls and ceilings.
- Penicillium: Frequently grows on wallpaper, fabrics, and carpets.
- Cladosporium: Usually found on wooden surfaces and painted walls.
- Stachybotrys (Black Mould): Known for its dark appearance and potentially severe health risks.
Health Risks of Mould in Bathrooms
Inhaling or touching mould spores can cause allergy symptoms like respiratory issues, nasal/sinus congestion, coughing, sore throat, and irritated eyes or skin. Moulds also emit musty odours. People with asthma or comprised immune systems are at higher risk for severe reactions to bathroom mould. If left unchecked, mould damage can spread to other areas of the home.
How to identify Mould in Your Bathroom?
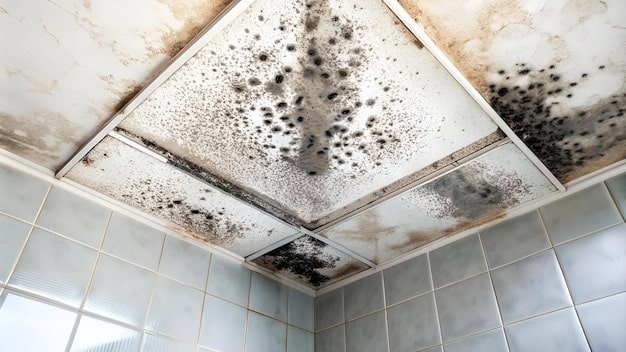
Identifying mould in your bathroom early on is crucial for preventing its spread and mitigating potential health risks. Mould can develop in a variety of colors and textures, depending on the type, and it often grows in places where moisture accumulates
Signs of Mould in Bathroom: What to Look For
Visible growth on surfaces like walls or tiles clearly indicates mould. Also inspect for hidden mould under the sink, behind wallpaper, or in corners. Other signs are dark spots, a musty smell, peeling plaster, and moisture collecting on windows or walls.
Black Mould in Bathroom: How to Spot It
Black mould is difficult to distinguish from dirt or mildew, but clues are greyish-black splotches that spread over time. Check grout for fuzzy growth or black lines. Confirm by dabbing suspect areas with hydrogen peroxide. If it fizzles, it’s mould. Use caution when identifying black mould yourself.
Common Areas Where Mould Grows in Bathrooms
The top mould hotspots in bathrooms:
- Grout between floor/wall tiles
- Drywall behind toilets, tubs, and showers
- Corners near showers and sinks
- Caulk around tubs, sinks, windows
- Between tiles and tub/shower
How to Get Rid of Mould in Bathroom: Step-by-Step Guide
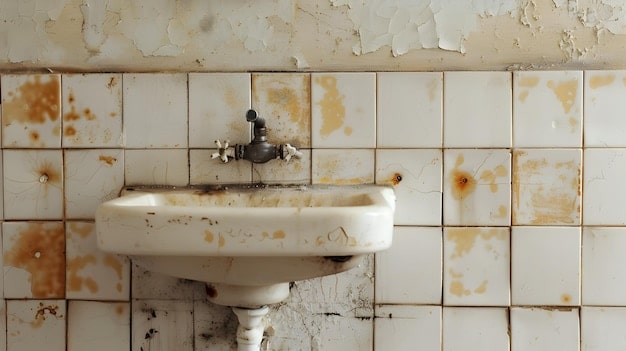
Step 1: Gather the Necessary Supplies for Removing Mould
Before tackling bathroom mould, equip yourself with:
- Protective gear: gloves, N-95 respirator mask, goggles
- Cleaning agents: commercial bathroom cleaner, bleach, vinegar, etc.
- Scrub brushes, sponges, buckets
- New caulk/grout to replace mouldy areas
Step 2: Preparing Your Bathroom for Mould Removal
The prep work is key to safely remove all mould:
- Turn on fan, open windows to ventilate the room
- Cover bathroom surfaces not affected by mould
- Mix your cleaning solution (see Step 3)
- Check all areas again for hidden mould
Step 3: Cleaning Bathroom Mould from Surfaces
With protective gear on, tackle mould growth using these methods:
- On non-porous bathroom tiles: Mix equal vinegar and water. Scrub tiles with brush to remove stains/mould from grout lines. Rinse thoroughly.
- For tile grout lines: Use baking soda paste or commercial grout pen. Let sit for 5 mins before scrubbing and rinsing. Re-grout if mould persists.
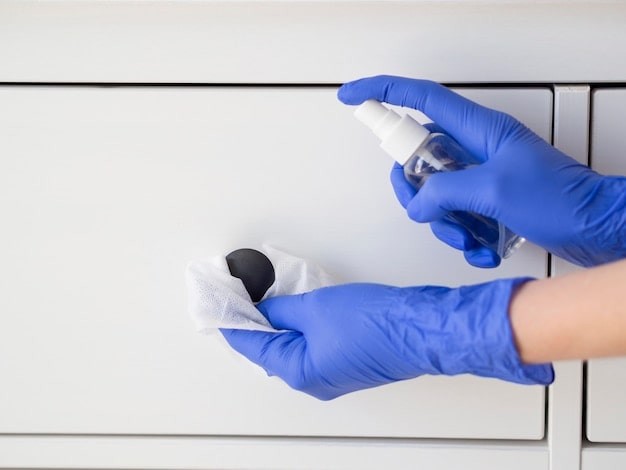
- On walls/ceilings: Create mild bleach solution (1 cup bleach plus 1 gallon water). Wear gloves and scrub affected drywall with sponge or brush. Completely dry wall when done.
- For caulk: Use commercial mould cleaner or bleach solution to thoroughly clean. Remove all old caulk and reapply fresh silicone caulk. Smooth out with wet finger.
Step 4: Removing Black Mould in Bathroom Using Natural and Chemical Solutions
Black mould in bathrooms requires stronger solutions to eradicate than regular surface mould. Here are effective treatments:
- White vinegar undiluted: Spray directly on black mould then let sit for 1 hour before scrubbing.
- Full-strength bleach: For bleach-safe surfaces, apply directly to black mould and let sit for 10 minutes. Scrub and rinse thoroughly.
- Potassium borate: Mix powder with water into a paste. Apply to black mould for 4-8 hours then rinse thoroughly. Completely kills spores and prevents regrowth.
- Concrobium Mold Control: Spray this commercial solution on black mould following instructions on packaging. Let dry completely then rinse away dead spores with water.
Step 5: Final Rinse and Drying to Prevent Mould Regrowth
After cleaning all bathroom mould with solutions above, these final steps prevent mould recurring:
- Wipe down all walls, tiles, windows with clean, hot water to remove solution residue.
- Thoroughly dry all bathroom surfaces with old towels – leave fan on for several hours.
- Check grout lines and caulk. Reapply fresh grout and caulk if still discolored.
Best Products for Removing Mould in Bathroom
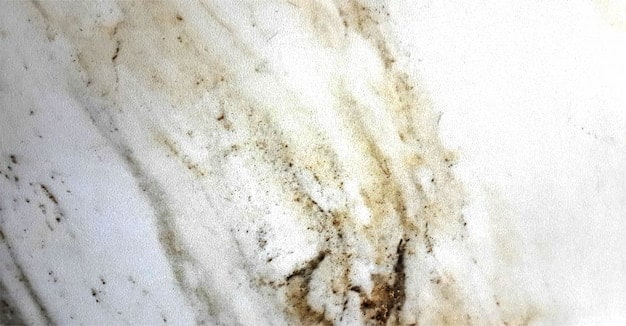
Along with natural solutions, these commercial products effectively eliminate bathroom mould:
- Concrobium Mould Control: Plant-based spray kills mould at roots and prevents regrowth with no bleach or harsh chemicals.
- RMR-86 Instant Mold and Mildew Stain Remover: Strong active ingredients remove deep mould stains on drywall, tile, caulk, and other bathroom surfaces with minimal scrubbing.
- Clorox Tilex Mold and Mildew Remover: This bleach-based bathroom cleaner foams away stubborn mould stains. Used weekly, it also prevents new mould growth.
- Vinegar and baking soda: Common household staples that make alternative natural cleaners for removing mould. Mix baking soda and water into a paste and apply to mouldy grout lines overnight before scrubbing clean. Spray undiluted white vinegar directly onto surface mould then scrub.
Overall, commercial bathroom mould removers work faster than natural options but may contain harsh ingredients. Vinegar, baking soda, and other green cleaner alternatives are safer overall but require more intense scrubbing. Consider trying both methods.
How to prevent Black Mould in Bathroom
Preventing mould in the bathroom is essential for maintaining a clean, healthy environment. Bathrooms are particularly prone to mould due to their high humidity levels and frequent exposure to moisture. However, with the right strategies, you can significantly reduce the risk of mould growth and keep your bathroom mould-free. Here’s how to prevent mould from taking hold in your bathroom:
Improving Bathroom Ventilation to Prevent Mould Growth
Inadequate ventilation allows humidity and moisture to accumulate, feeding mould growth. Improve air circulation with these tactics:
- Run bathroom fan for 30 mins after showering – makes a major difference!
- Open window to let cross breeze lower humidity
- Upgrade to higher CFM bathroom fan if existing one is inadequate
- Install moisture-absorbing dehumidifier to regulate air moisture levels
Regular Cleaning Practices to Keep Bathroom Mould-Free
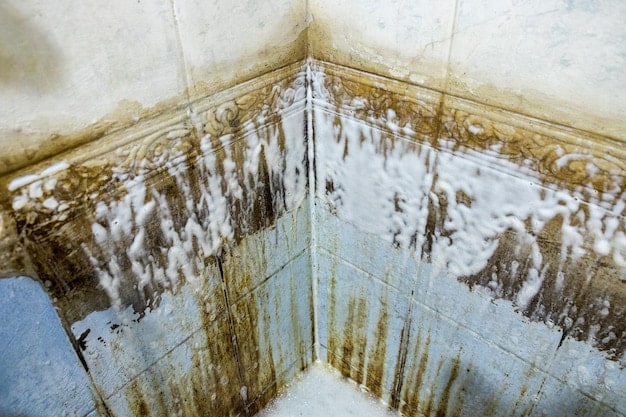
- Stay on top of bathroom cleaning to deter mould, especially in wet areas:
- Squeegee shower walls/tiles after use so no moisture lingers
- Spray shower curtains with white vinegar after use to prevent mildew. You can also think about using a shower mould remover.
- Clean grout lines with brush and bathroom cleaner weekly
- Re-caulk old, cracked caulk around tub and sinks every 6 months
Using Anti-Mould Paints, Sealants, and Other Preventative Measures
Using mould-resistant products during bathrooms remodels or routines cleanings curbs mould growth:
- Paint bathroom walls and ceilings with anti-mould paint containing fungicides/biocides
- Apply silicone or other water-repellant caulk rather than latex caulk
- Choose moisture-resistant drywall designed to deter mould
- Install non-porous shower enclosures and bathroom tiles instead of plaster walls
Dealing with Persistent Mould in Bathroom: When to Call a Professional
Signs You Need Professional Help for Bathroom Mould
If DIY bathroom mould removal fails and the fungus keeps returning or covers over 100 square feet, professional mould remediation is likely needed. Also call experts if you see:
- Visible mould growth returns within weeks of thorough cleaning
- Signs the air ducts or crawl spaces have lingering contamination
- Mould-related health issues emerging like respiratory problems or strong allergic reactions
What Professional Mould Removal Entails
A professional mould remediation company will:
- Determine all affected areas using moisture meters, air tests, lab samples of growth
- Contain workspace by sealing vents, ducts, doors to prevent spore spread
- Remove moulded materials if cleaning proves ineffective – e.g. drywall, insulation, flooring
- Treat contamination using commercial-grade disinfectants, fogging equipment
- Use HEPA vacuums to safely remove all dead mould matter and associated debris
- Apply antimicrobial coating to treated areas to curb regrowth
- Conduct post-remediation tests to confirm mould eradication
Cost and Benefits of Professional Mould Removal
Professional mould removal costs £500-£5000+ depending on the extent of contamination and remediation needed. The investment brings long-term health reassurance and mould prevention for your home. Consider professional help if DIY bathroom cleaning fails or mould growth is extensive.
Conclusion
Let’s quickly go through the steps on how to get rid of mould in bathroom. Controlling bathroom mould requires attacking existing growth and stopping conditions that allow mould to recur. Follow the step-by-step cleaning guide in this article using natural or commercial mould solutions best suited for the affected surfaces in your bathroom.
Combine cleaning with preventative steps like moisture control, ventilation improvements, mould-resistant building materials, and regular bathroom maintenance. Address widespread or aggressive mould with professional remediation when DIY methods fail.
Final Tips for a Mould-Free Bathroom:
- Always wear protective gear when cleaning mould
- Dry out all bathroom surfaces after cleaning
- Clean exhaust fan grille and ducts to improve air flow
- Clean shower curtains/doors and grout lines regularly
- Immediately fix any leaks causing excess moisture
- Install bathroom ventilation fan on separate switch from lights
Following a proactive cleaning routine and moisture prevention tactics keeps your bathroom mould-free for good. Don't let lingering mould jeopardize the health of your family or damage your home any longer. Use this comprehensive guide to rid all traces of bathroom mould right away and prevent hazardous regrowth.
If you prefer to go ahead with a bathroom remodeling project while removing mould, visit Elegant Showers. Then you can buy everything that you need to create the dram bathroom of your choice.





Validate your login