DIY home improvements have become hugely popular across the UK. From painting rooms to building garden decks, British homeowners love rolling up their sleeves and getting stuck in. There's something satisfying about completing a project yourself and saving money in the process.
One project that often comes up is shower tray installation. Maybe your old tray is cracked, or you're renovating your bathroom. You might wonder: "Can I install this myself, or do I need a professional?"
This question isn't just about saving money. It's about understanding what you're getting into. Shower tray installation involves plumbing, waterproofing, and precision work. Get it wrong, and you could face expensive water damage.
In this article, we'll give you a realistic look at DIY shower tray installation. We'll cover what's involved, what tools you need, and most importantly, help you decide if it's right for you. By the end, you'll know whether to grab your toolbox or call a professional.
What is a Shower Tray and Why is Proper Installation Crucial?
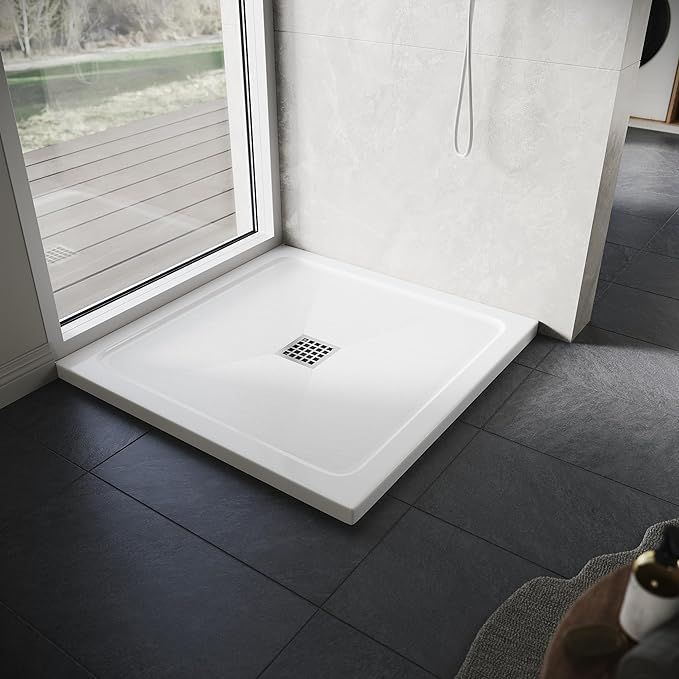
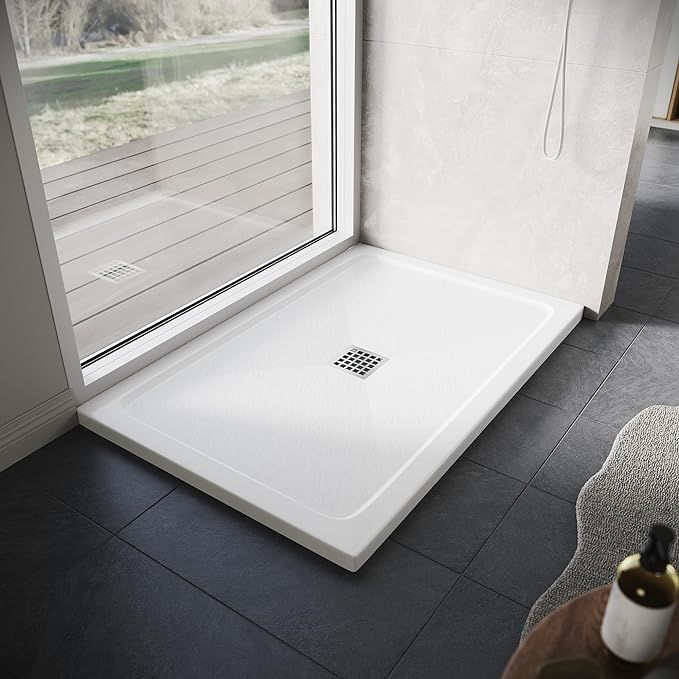
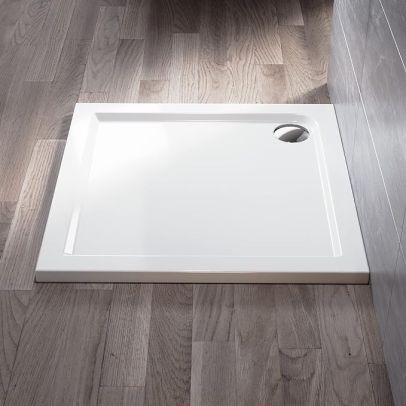
A shower tray is the waterproof base of your shower. It sits on your bathroom floor and collects water, directing it to the drain. Think of it as the foundation of your shower space.
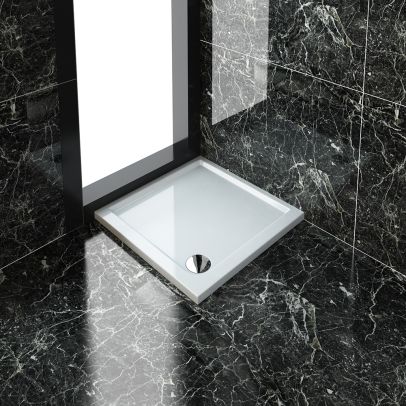
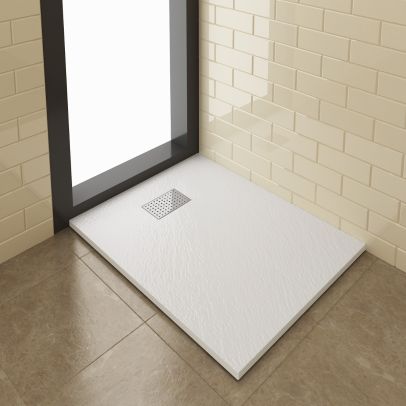
There are several types available in the UK. Acrylic trays are lightweight and affordable. Stone resin trays offer durability and a premium feel. Ceramic trays provide a classic look but can be heavier to install.
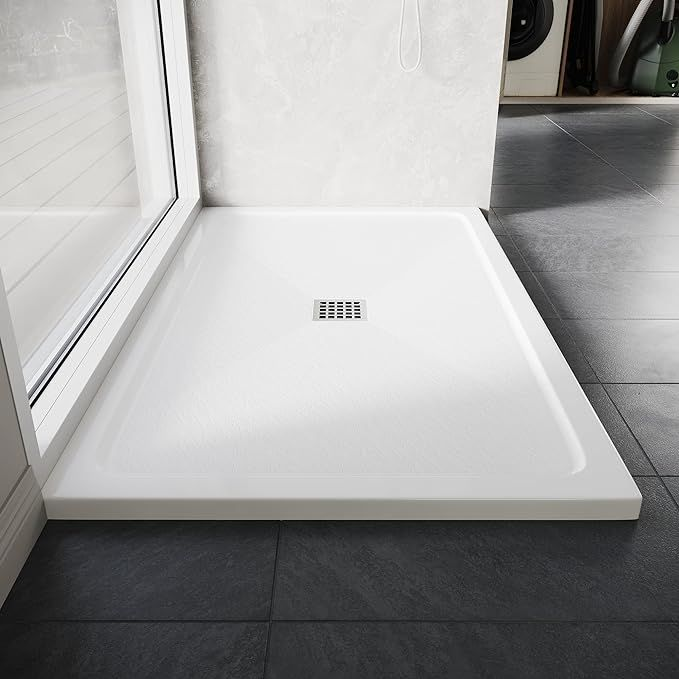
Proper installation isn't just important – it's critical. A well-installed shower tray creates a watertight seal that protects your home. It prevents water from seeping into floors, walls, and the rooms below.
The consequences of poor installation can be severe. Water leaks can damage floorboards, cause ceiling stains in rooms below, and create perfect conditions for mold growth. In extreme cases, structural damage can occur, requiring major repairs costing thousands of pounds.
Insurance companies also take a dim view of DIY plumbing failures. If water damage occurs due to poor installation, you might find your claim rejected. This makes getting the installation right absolutely essential.
Beyond avoiding problems, proper installation ensures your shower tray lasts for years. A correctly fitted tray will remain stable, level, and leak-free throughout its lifespan.
DIY Shower Tray Installation: Assessing Your Skill Level
Before diving into any DIY project, honest self-assessment is crucial. Installing a shower tray isn't rocket science, but it does require certain skills and confidence.
Ask yourself these key questions: Do you have any plumbing experience? Have you connected waste pipes before? Are you comfortable using measuring tools and power tools? Can you follow detailed instructions without getting frustrated?
Consider your track record with DIY projects. If you've successfully completed bathroom tiling or fitted kitchen units, you probably have the skills needed. If changing a tap feels challenging, shower tray installation might be too ambitious.
Think about your available time too. This isn't a weekend afternoon job. Plan for a full day, possibly longer if complications arise. You'll need time for preparation, installation, and allowing materials to cure properly.
Be realistic about the complexity. While the basic process is straightforward, every bathroom is different. Older properties often present unexpected challenges like uneven floors or awkward pipe positions.
Most importantly, consider your comfort level with potential problems. DIY projects rarely go exactly to plan. Are you prepared to troubleshoot issues as they arise?
Tools and Materials Checklist for Shower Tray Installation
Having the right tools and materials is essential for success. Don't try to make do with substitutes – this is where problems often start.
Essential tools include:
· Spirit level (crucial for getting the tray perfectly level)
· Tape measure and pencil for marking
· Silicone gun for sealing
· Screwdriver set and adjustable wrench
· Drill with various bits
· Saw for cutting (if modifications needed)
· Safety equipment (goggles, gloves)
Materials you'll need:
· Your chosen shower tray
· High-quality silicone sealant (bathroom-grade)
· Appropriate adhesive (follow manufacturer's recommendations)
· Screws and fixings
· Plywood sheets (if floor reinforcement needed)
· Waterproofing membrane
· Waste trap and connecting pipe
Don't skimp on material quality. Cheap silicone sealant might save a few pounds but could fail within months. Quality materials cost more initially but provide better long-term value.
Check your shower tray's installation instructions before shopping. Different manufacturers may have specific requirements for adhesives or fixings.
Step-by-Step Guide to Installing a Shower Tray
Pre-Installation Preparation
Start by removing your old shower tray if replacing one. Turn off the water supply and disconnect the waste pipe carefully. Clean the area thoroughly, removing all old sealant and debris.
Measure your space carefully. Check that your new tray will fit properly with adequate clearance around edges. Verify that the waste outlet aligns with your existing plumbing.
Most importantly, check that your floor is level. Use a long spirit level to identify any slopes or dips. An unlevel floor will cause water to pool, potentially leading to leaks and damage.
Preparing the Floor
If your floor isn't perfectly level, you'll need to address this first. Small irregularities can be corrected with self-leveling compound. Larger issues might require professional help.
For wooden floors, ensure they're solid and stable. You may need to install marine-grade plywood as a base. This provides extra strength and water resistance.
Apply a waterproof membrane if required. This creates an additional barrier against moisture. Follow the manufacturer's instructions carefully for proper application.
Dry Fitting the Shower Tray
Before applying any adhesive, place the tray in position without fixing it down. This dry run helps identify potential problems early.
Check that the waste outlet aligns perfectly with your drain pipe. Even small misalignments can cause major headaches later. Ensure there's adequate clearance around all edges.
Test the tray's stability. It shouldn't rock or move when you step on different areas. If it does, you'll need to address the underlying floor issues.
Applying Adhesive and Setting the Tray
Follow your adhesive manufacturer's instructions precisely. Some require mixing, others come ready to use. Work quickly once you start – many adhesives have limited working time.
Apply adhesive evenly across the floor area. Don't use too much – excess will squeeze out and create mess. Focus on creating a level bed for the tray.
Lower the tray carefully into position. Once it's down, you'll have limited time to make adjustments. Use your spirit level immediately to check it's perfect level in all directions.
Connecting the Waste
This step requires particular care. The waste connection must be watertight and properly sealed. Start by offering up the waste trap to ensure correct alignment.
Apply plumber's putty or silicone sealant as specified in your instructions. Don't over-tighten connections – this can crack ceramic components or distort seals.
Test the connection by running water through it. Check carefully for any leaks before proceeding.
Sealing the Edges
Apply silicone sealant around all edges where the tray meets walls or other surfaces. Use a proper silicone gun for consistent application. Smooth the sealant with a wet finger or specialized tool.
Work systematically around the tray. Don't rush this step – good sealing is crucial for preventing water penetration.
Final Checks and Curing Time
Double-check that the tray remains level and hasn't shifted during installation. Test its stability once more by applying gentle pressure to different areas.
Most importantly, allow proper curing time. Don't use the shower for at least 24 hours, longer if specified by your adhesive or sealant manufacturers. Rushing this stage can compromise the entire installation.
Common Pitfalls and How to Avoid Them
Incorrect leveling is the most common mistake. A sloping tray causes water to pool in corners, creating perfect conditions for mold and potential leaks. Always use a quality spirit level and check multiple directions.
Inadequate sealing leads to water penetration over time. Don't cut corners on sealant quality or application. Remove old sealant completely before applying new material.
Misaligned waste pipes cause ongoing problems. Take time during dry fitting to ensure perfect alignment. Small adjustments are easier to make before fixing the tray permanently.
Not allowing sufficient curing time is tempting when you're eager to use your new shower. Resist the urge. Premature use can disturb seals and adhesive bonds, leading to future failures.
Using inappropriate materials for your specific installation can cause problems. Stone resin trays may require different adhesives than acrylic ones. Always follow manufacturer recommendations.
When to Call a Professional: Recognizing Beyond-DIY Situations
Some situations clearly indicate professional help is needed. If your floor requires major structural work or leveling, this typically exceeds DIY scope. Complex plumbing modifications, such as moving waste pipe positions, usually require professional expertise.
Older properties often present unexpected challenges. If you discover rotted floorboards, faulty plumbing, or building regulation compliance issues, professionals can navigate these complexities safely.
Trust your instincts too. If you feel uncertain at any stage, it's better to seek professional help. The cost of expert installation is often less than repairing DIY mistakes.
Consider the broader context as well. If this installation is part of a larger bathroom renovation, professional coordination might provide better overall results.
Remember, there's no shame in recognizing your limitations. Professional installers bring experience, proper tools, and often guarantees on their work.
UK Building Regulations and Compliance for Shower Trays
UK building regulations cover shower installations, particularly around drainage and moisture control. Part H addresses drainage requirements, while Part C deals with moisture resistance.
For most straightforward replacements, building control approval isn't required. However, if you're creating a new shower space or making significant changes, you may need approval.
Compliance isn't just about legal requirements. Insurance companies may question claims if work doesn't meet recognized standards. Proper installation helps protect both your home and insurance coverage.
When in doubt, consult your local building control office. They can advise whether your planned work requires formal approval.
Maintenance Tips for Your Newly Installed Shower Tray
Regular maintenance extends your shower tray's lifespan and prevents problems. Clean regularly with appropriate products – avoid abrasive cleaners that can damage surfaces.
Check seals annually for signs of deterioration. Small gaps can quickly become major leaks if left unaddressed. Resealing is much cheaper than dealing with water damage.
Monitor for any movement or changes in the tray's stability. Address issues promptly before they worsen.
Keep drainage clear by removing hair and soap residue regularly. Blocked drains can cause water backup and potential overflow.
Conclusion
DIY shower tray installation is definitely realistic for competent UK handypersons, but success depends on honest skill assessment and careful planning. The process isn't overly complex, but it demands attention to detail and patience.
If you have basic DIY skills, proper tools, and adequate time, this project can save money while providing genuine satisfaction. However, don't hesitate to call professionals if you encounter unexpected complications or feel uncertain about any aspect.
Remember, a well-installed shower tray should last for many years. Whether you tackle it yourself or hire professionals, focus on getting it right rather than rushing the job.
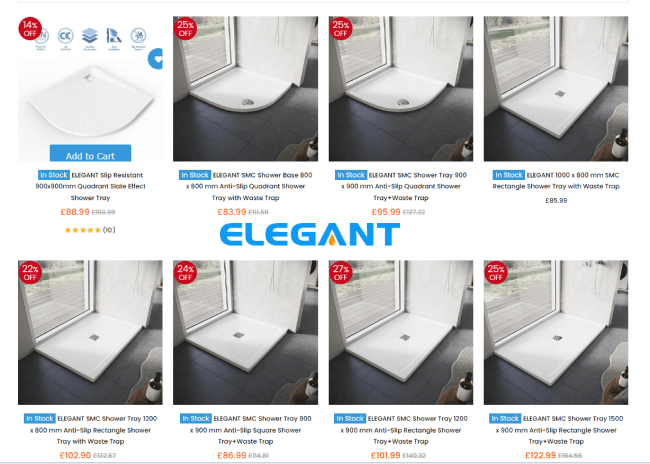
For expert advice and quality shower tray solutions, please visit our Elegant Showers UK Online Shop. Then you can get professional consultation and premium products that make your installation project successful.


Validate your login