
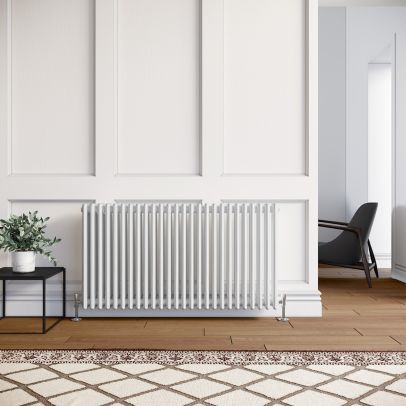
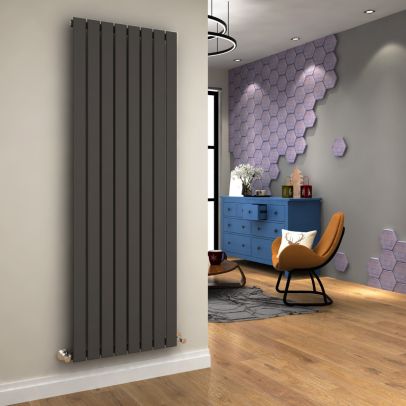
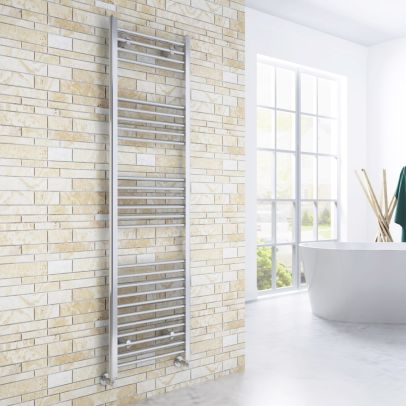
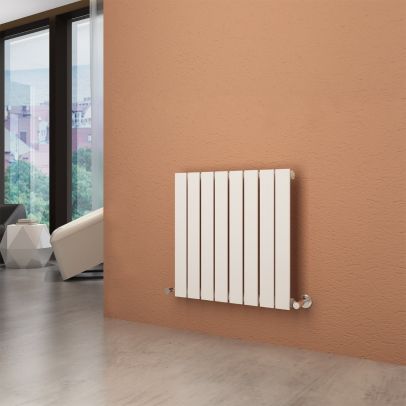
Properly maintaining your home radiators is important for keeping an even distribution of heat throughout your house during the cold UK winters. One key aspect of radiator maintenance is bleeding, which removes trapped air pockets that can reduce efficiency. This article on how to bleed a radiator will provide a step-by-step guide for you.
Having air trapped inside your radiator system can significantly impact its performance - reducing heat output, causing noisy operation, and leading to cold spots in your home. By bleeding your radiators to release this excess air, you can restore them to full working order. The process itself only takes a few minutes per radiator and can usually be performed with a simple bleed key that can be purchased inexpensively from any hardware store.
In the following sections of this article on how to bleed a radiator UK, we will cover everything you need to know as a homeowner to bleed your own radiators. This includes an overview of the signs that your radiators need bleeding, instructions on how to bleed both hot and cold radiators, as well as tips for proper maintenance to prevent air from accumulating in the first place. With this guide, you’ll have the confidence and knowledge to keep the radiator heating system in your UK home running optimally.
Understanding Radiators and Common Issues
Radiators are heat exchangers designed to transfer thermal energy from your central heating system into the air space they occupy in your rooms. They work by circulating hot water from your home's boiler through a series of hollow fins or pipes that maximize surface area contact with the surrounding air.
As this hot water moves through the radiator, the heat is conducted through the fins/pipes and converted into the air through both radiation and convection. This heating process continues as the slightly cooled water returns back to the boiler to be reheated once again.
Causes of Trapped Air in Radiators
Over time, small pockets of air can accumulate inside your home's radiator units. This typically happens due to leaks, bleeding the system improperly, or corrosion/damage within the system itself. Even small amounts of air can substantially reduce efficiency by forming a thermal barrier that prevents hot water from fully circulating through the radiator.
Signs Indicating a Radiator Needs Bleeding
There are a few key signs that indicate it's time to bleed out trapped air from your heating system:
· Cold spots on radiators: You may notice parts of the radiator never get hot or there are spikes/dips in temperature across the surface. This points to air obstructing water flow.
· Noisy operation: From loud banging noises when turning on to gurgling sounds as water moves, excess air can cause unwanted sounds.
· Long heat up times: It takes longer for radiators to warm up to the desired temperature if air bubbles are present.
· High boiler pressure: Pressure gauges on modern Combi boilers can spike from trapped air expansion.
· Increased energy bills: Reduced heating efficiency will cause you to use more energy to compensate.
By keeping an eye out for these common problems associated with air build-up, you'll know when it's time to bleed your radiators and make the needed repairs/maintenance for smooth system operation.
Preparing to Bleed a Radiator
Preparation is important when bleeding a radiator system. Let’s explore more on how you can prepare for it.
Safety Precautions
Bleeding radiators involves working with hot water and steam, so take proper safety measures:
• Turn the central heating off beforehand and allow system to fully cool if possible - minimizes scalding risk.
• Wear protective gloves and goggles - reduces change of burns.
• Place towels/rags beneath work area - catches drips and splatters.
• Keep children/pets away from work area.
Necessary Tools & Materials
Bleeding a radiator requires allowing trapped air to escape while adding new water. To control flow, the main tool needed is a radiator key – these fits around the square bleed valve to open/close. radiator keys are inexpensive (£2-4) at any hardware store or home improvement centre.
Alternatively, a flathead screwdriver or adjustable spanner can turn and loosen old bleed valves. Have a few small tools on hand to provide more leverage or tight spaces.
Other useful items include:
• Bucket to catch drained fluid
• Funnel and hose to refill system
• Rag for wiping up spills
Protecting Work Area
• Spread an absorbent cloth/towels below radiator valves to catch drips
• Place bucket underneath to collect drained water
• Cover surrounding floor space with a tarp/dust sheet to prevent stains
During the bleeding process, keep an eye out for leaks/spills and adjust towels/buckets as needed. Its best to bleed radiators one at a time over this protected area that can be easily cleaned. By taking a few minutes to set up a safe workspace, you can prevent damage and make the repair process smooth.

Step-by-Step Guide to Bleeding a Radiator
Here’s a step by step guide on bleeding a radiator. Stick to these steps and you will end up with the results you want.
1. Turning Off the Heating System
Locate the main power switch for your boiler/heating system, typically found on the side of the boiler itself. Switch the heating system into the "Off" position so water is no longer being heated and circulated. Allow 30-60 minutes for the radiator water to fully cool before beginning work, checking with a touch test.
2. Locating the Bleed Valve
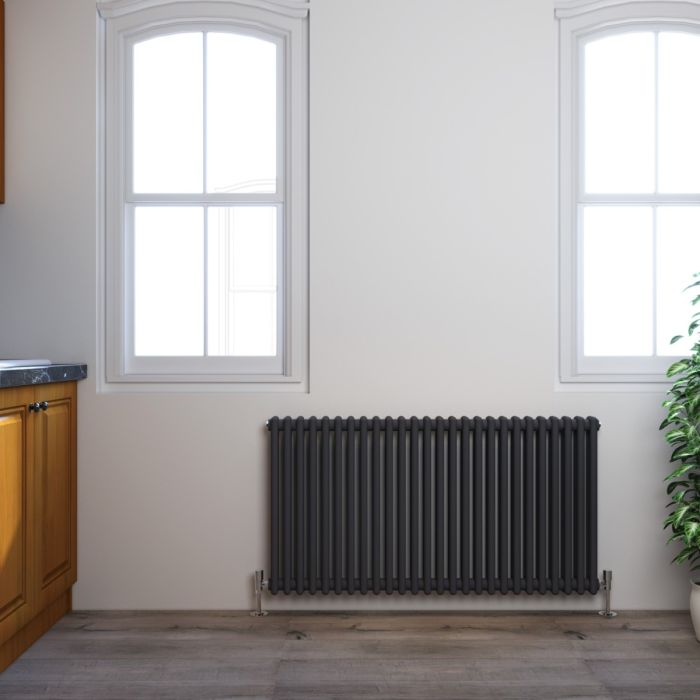
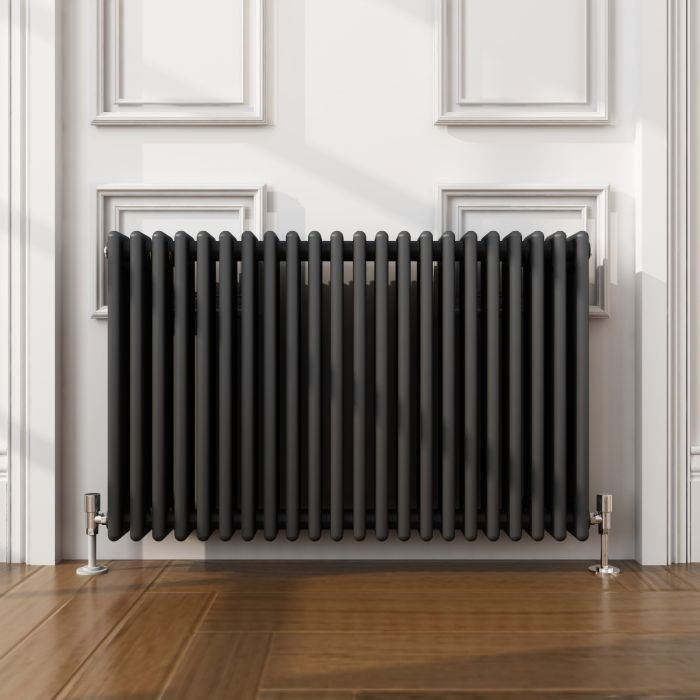
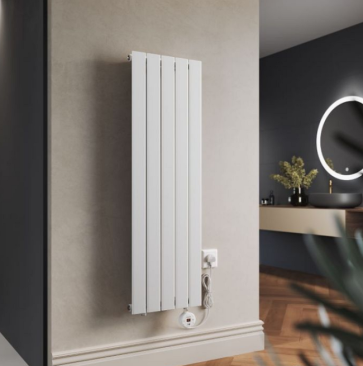
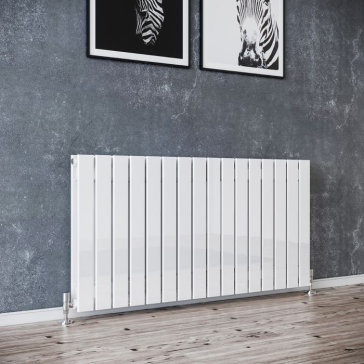
Bleed valves are small square or slotted screw heads located at the top of radiators on the supply-side pipe. Some horizontal models have end bleed valves instead while vertical may have multiple valves across the top.
3. Using a Radiator Key or Alternative Tool
For slotted bleed screws, use a flathead screwdriver that fits snugly into the slit. Gently pry anticlockwise to loosen and open.
For square nut bleed valves, use an adjustable spanner or pliers (preferably with plastic grip). Carefully loosen anticlockwise for 1-2 turns.
4. Opening the Bleed Valve
Place rag beneath valve then slowly open it with your radiator key/tool 1-2 full turns. Listen closely to a hissing sound of air escaping then watch for spurts of water to follow. Once a steady trickle of water squirts out without bubbles, you've fully relieved the air pocket.
5. Closing the Bleed Valve
Once only water releases, carefully close the bleed valve fully in the clockwise direction with your key. Avoid overtightening. Check for leaks at the valve connection then dry up any water spillage using your cloths.
6. Checking the Boiler Pressure
For a Combi boiler: Locate the pressure gauge on front and ensure needle reads between 1-2 bar pressure. On older heat-only boilers: The pressure can be read via external gauges on pipe fittings. Target 1-1.5 bar. If pressure is lower, top up using central heating filling kit connecting to filling loop or valves.
7. Turning the Heating System Back On
Return power switch on your boiler unit to the "On" position. Bleed additional radiators in home if needed. Set thermostat to call for heat and verify system works.
8. Verifying Efficiency
Feel along full length of radiator - it should heat evenly with no cold spots. Listen for gurgling/hissing sounds indicating remaining trapped air to bleed further. Monitor boiler pressure; bleed more radiators if it continues dropping from leaks.
With these key steps for bleeding radiators using common tools and safety checks, you can quickly restore full performance. Contact a heating engineer if issues persist after attempting to bleed system.
Post-Bleeding Maintenance and Tips for Radiators
Now you know how to bleed a radiator without a key. Also keep these tips in mind to ensure post-bleeding maintenance.
Monitoring Radiator Performance
Once you have successfully bled your radiator, it's important to monitor its performance over the next few days. Check the radiator and floor below it for any signs of continued leaks. Make sure the radiator heats up properly and circulates heat through your home as expected. Listen for gurgling noises that may indicate remaining trapped air.
Stick to a Regular Maintenance Schedule
Going forward, add radiator maintenance to your regular seasonal home maintenance schedule. Visually inspect the radiator and connected hoses every 3-6 months for corrosion, cracks, or leaks. Vacuum dust that may build up over time. Use a soft cloth dampened with warm water and diluted vinegar to gently clean off stains or dirt if needed.
Consider flushing your radiator annually by draining and refilling it to prevent sediment buildup inside. Bleed trapped air if you notice decreased heating performance. Replace old hoses and valves if cracked or worn out. Touch up spots of paint corrosion to prevent future rust.
When to Seek Professional Help
If problems persist despite proper bleeding and maintenance, seek professional help. Signs you may need a technician include frequent air pockets, unexplained drops in water level, leaking joints, loud knocking, abnormal operation noises, or rust holes. A HVAC specialist can troubleshoot issues, perform repairs, or determine if a replacement is necessary for optimal heating system operation and longevity.
Conclusion
Bleeding radiators is an essential maintenance task for efficient home heating. By manually or automatically removing trapped air pockets, you allow hot water to properly circulate, optimize heat emission, and reduce energy bills. Perform bleeding along with visual inspections, flushing, vacuuming, and component replacements as part of a regular seasonal maintenance schedule.
This keeps your radiators working in top shape for years. For high-quality designer radiators or professional assistance maintaining your heating system, visit Elegant Showers UK Online Shop or consult a certified HVAC technician. Taking proper care of your radiators saves money and ensures a warm, comfortable home all winter long.


Validate your login