
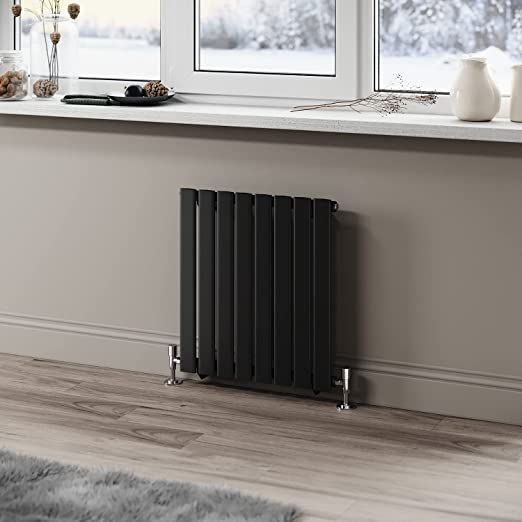
Is your home feeling a little too cold or hot lately, even when you adjust your thermostat? The issue may be with your radiator's thermostat. Radiator thermostats control the temperature of each room by regulating hot water flow to your radiators. If they get stuck or worn out, it can make some rooms uncomfortable. Replacing thermostat on radiator is an easy DIY fix. Here's a simple step-by-step guide.
What is a Radiator Thermostat and Why Do You Need One?
A radiator thermostat automatically adjusts the heat output from a radiator by regulating the hot water flow. As the room warms up, the thermostatic sensor inside the valve reacts and restricts water flow to prevent overheating. Without a properly working thermostat, rooms may become too hot or too cold.
What are Thermostatic Radiator Valves (TRVs)?
Thermostatic radiator valves (TRVs) are control valves fitted to hot water heating radiators. They help regulate room temperature by adjusting hot water flow through the radiator based on the air temperature around them.
How Do TRVs Work?
TRVs contain a temperature sensor, usually filled with wax or a glycerol mixture that expands when heated and contracts when cooled. As the room heats up, this material expands, pushing down on an internal pin and piston which closes the valve, restricting water flow through the radiator. When the room starts to cool, the sensor contracts, lifting the pin and allowing more hot water to enter the radiator again.
This self-regulating ability means TRVs can control the heat output from individual room radiators based on whether that room needs heating or cooling. So even if the boiler and timers are still pumping out hot water, rooms can independently switch radiators on or off as needed to maintain the desired temperature. This helps prevent rooms from overheating once at the right level.
By finetuning each radiator’s heat output to room conditions, TRVs increase comfort and heating efficiency around the home. Rooms won’t get stuffy or too cold with properly functioning thermostatic radiator valves fitted.
With a new radiator thermostat installed, your rooms will feel cosier and more comfortable again. Enjoy better temperature control and heating savings from a properly working heating system. Stay warm all winter long!

How Do Radiator Thermostats Work?
Radiator thermostats contain a bimetallic spring or an expandable wax pellet that reacts to air temperature changes. As the room gets warmer, these materials expand or bend, triggering a pin to depress inside the thermostat. This pin pushes down on a piston valve and reduces the hot water flow through the radiator.
When the room starts cooling again, the bimetallic spring or wax contracts and releases the piston, allowing greater hot water flow once more. This self-regulating on/off cycle happens automatically many times to maintain a consistent room temperature.
Benefits of Thermostatic Radiator Valves
Using TRVs offers several heating benefits:
Energy Efficiency
By self-regulating radiator heat output, TRVs prevent rooms from being overly heated once at the desired temperature. This reduces boiler runtime and fuel consumption.
Comfort
TRVs allow you to customize each room's temperature so occupants can enjoy consistent, cosy warmth.
Cost Savings
Greater heating control reduces energy waste, lowering utility bills by up to 17% annually for a typical home.
Easy Retrofitting
TRVs are easy upgrades that work with most hot water and steam heating systems without the need for plumbing changes.
With thermostatic radiator valves fine-tuning room temperatures and system efficiency, homes enjoy better climate control, smaller eco-footprints, and more cash in hand thanks to lower heating costs.
Signs That Indicate a Faulty Radiator Thermostat
Several symptoms can signal it's time to replace your radiator's thermostat. Here are common issues to look out for:
· Inconsistent Room Temperatures
If some rooms feel much hotter or colder than your thermostat setting, it likely indicates a stuck or broken thermostatic radiator valve. Faulty TRVs fail to regulate water flow properly.
· Radiators Not Heating Properly
One sign is radiators that feel lukewarm to touch even after running a while. This points to a valve stuck in the closed position due to broken internal components.
· Unusual Noises From the Radiator
Loud banging or hammering noises can occur when room temperatures fluctuate. This happens because a broken TRV fails to moderate water flow, causing pressure spikes inside the radiator.
When you encounter any of these signs, you should proceed with replacing thermostatic radiator valves.
When to Consider Replacing the Thermostat
While troubleshooting valve settings or bleed valves may temporarily resolve some temperature and noise issues, replacing faulty thermostatic valves is often necessary long-term.
Thermostats with any persistent problems impacting comfort and heating efficiency likely need replacement. Additionally, valves over 10 years old tend to wear out from mineral buildup and are good candidates proactively swapping out.
Preparing to Replace a Radiator Thermostat
Now you have a basic idea on how do radiator thermostats work. Replacing a faulty radiator thermostat is a straightforward DIY job if you have the right tools and take necessary safety precautions.
Tools and Materials Needed
Gather these supplies before starting:
• Adjustable spanner wrench
• Radiator bleed key or special thermostatic valve key
• Replacement thermostatic radiator valve
• Bucket to catch water drips
• Old towels or cloths
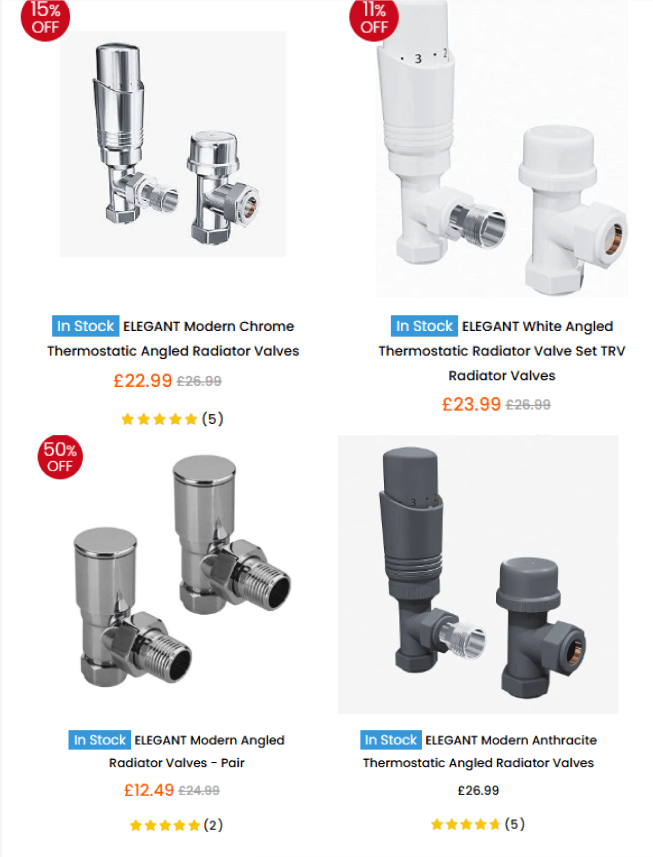
Look for replacement valves made by reputable brands like Honeywell, Danfoss, or Drayton certified to European standards EN215 and EN216. Purchase similar valves to your old ones noting the body type and connection thread size. Common options include 15mm or 10mm angle valves, straight valves, and screw-on thermostats.
Safety Precautions
Any work on hot water heating systems requires caution to avoid burns or leaks:
• Turn off the boiler and heating system at least 2 hours prior to letting radiators fully cool.
• Place cloths beneath valves to absorb drips. Have the bucket on hand too.
• Clear furniture and cover floors beneath the radiator with an old sheet or tarp to protect from spills.
• Work carefully when handling old valves to mitigate water leakage.
Following basic safety measures lets you replace thermostatic valves quickly and cleanly without damage or injuries.
Step-by-Step Guide to Replacing a Radiator Thermostat
So, how to change a radiator thermostat? Follow these key steps to safely replace a faulty or old radiator thermostat:
Step 1. Turn Off the Heating System
Start by switching off the boiler and heating system at the mains at least 2 hours prior. This gives all radiators sufficient time to cool completely to avoid scalding accidents.
Double check radiators feel cold to touch before beginning any work. Keep the heating off throughout the thermostat replacement process.
Step 2. Isolate the Radiator
Locate the lock shield valve connecting the radiator to the pipework. Use a radiator bleed key to fully close this valve and prevent water flowing in/out during the job.
Next, turn the thermostatic head clockwise until fully closed. If already removed, use a spanner wrench to gently close the thread at the valve body instead.
Isolating it from the system prepares the radiator for detaching the old thermostat. Have cloths and a bucket ready to catch drips.
Step 3. Remove the Old Thermostat
Place cloths beneath the thermostat valve to soak up any leaks. Using your radiator key, grip the thermostat head and carefully twist counterclockwise to unscrew it completely off the lock shield valve behind.
Alternatively, a spanner wrench gripped gently on the valve body can help loosen a stuck thermostat. Set aside all old valve parts to discard later.
Step 4. Install the New Thermostat
First, check your new thermostatic valve is the correct replacement by comparing thread sizes and layouts.
Gently push and twist in the replacement valve head clockwise until resistance is felt. Secure tightly using your radiator key spanner for a watertight join.
Refer to the product instructions for proper tightening torques. Take care not to overtighten. Take note of the numbered temperature settings on the old unit before disposal. This is all on how to fit a radiator thermostat.
Step 5. Reopen Valves and Test
Slowly reopen the lockshield and radiator valves using your radiator key. Have absorbent cloths positioned to catch odd drips.
Visually inspect joints for leaks at operating pressure. Tighten further if seeping occurs. Water should now flow freely within the radiator.
Step 6. Recommission the Heating
Switch the heating system back once all valves are opened. Gradually increase to the desired room temperature on the thermostat.
Observe radiators over the next few hours checking for correct heat output and better temperature regulation in that room thanks to the improved TRV.
You've now successfully replaced the radiator thermostat with a heating system protected throughout the process. Enjoy greater comfort and efficiency.
Final Words
Properly functioning thermostatic radiator valves are crucial for enjoying consistent warmth and heating cost savings around your home. Malfunctioning TRVs that fail to regulate room temperatures lead to discomfort, higher bills, and potential system issues.
By following the steps covered to isolate, remove and install replacement radiator thermostats, homeowners can resolve faulty valve problems themselves. Taking the time for radiator thermostat replacement or inaccurate thermostats also optimizes the heating system for better efficiency and temperature control year-round.
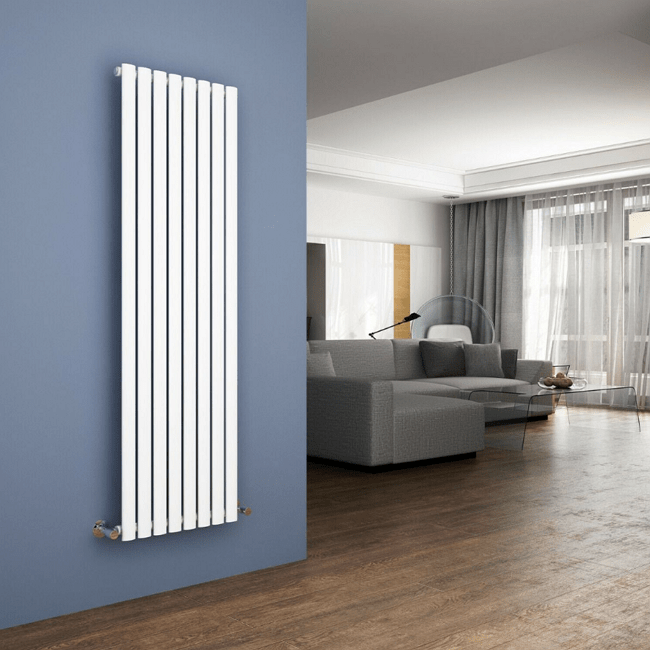
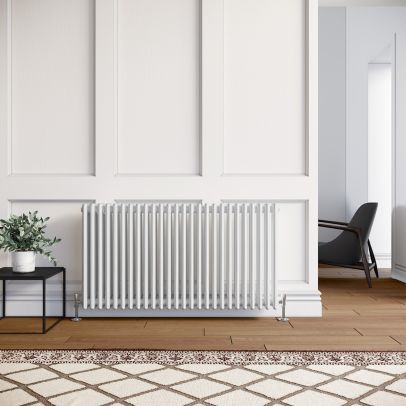
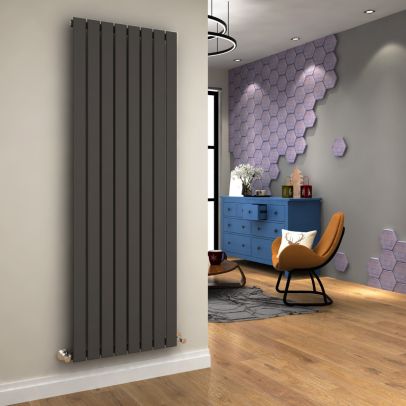
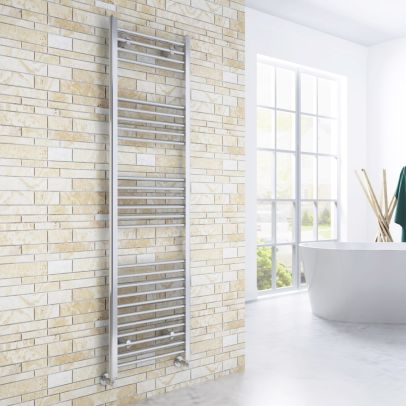
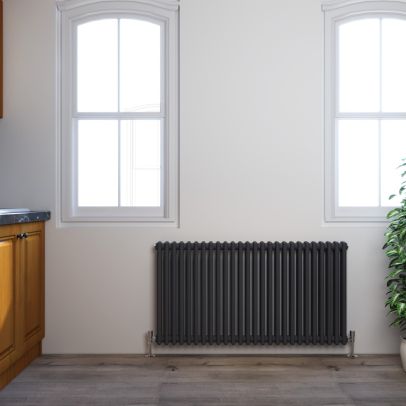
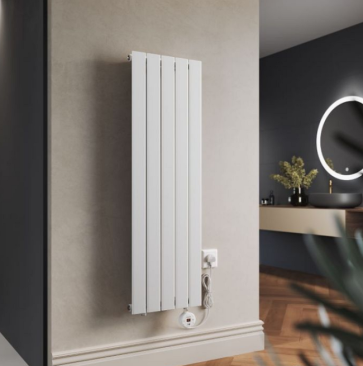
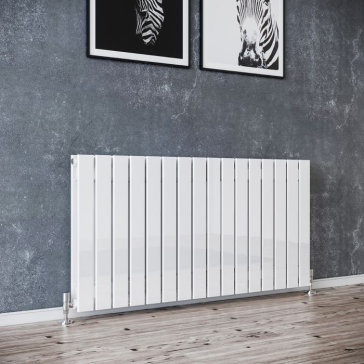
We encourage maintaining radiators by routinely bleeding trapped air and checking control valves so they can continue effectively moderating boiler output. Consider proactively upgrading older thermostatic heads for improved reliability. Visit Elegant Showers UK Online Shop to find high quality designer radiators to match any decor.
For complex heating problems beyond just replacing TRVs, consult a Gas Safe registered heating engineer for inspection and servicing. But for simply restoring comfort room-by-room, installing new thermostatic radiator valves is an easy DIY solution. Stay cozy all season through proactive heating maintenance.


Validate your login