

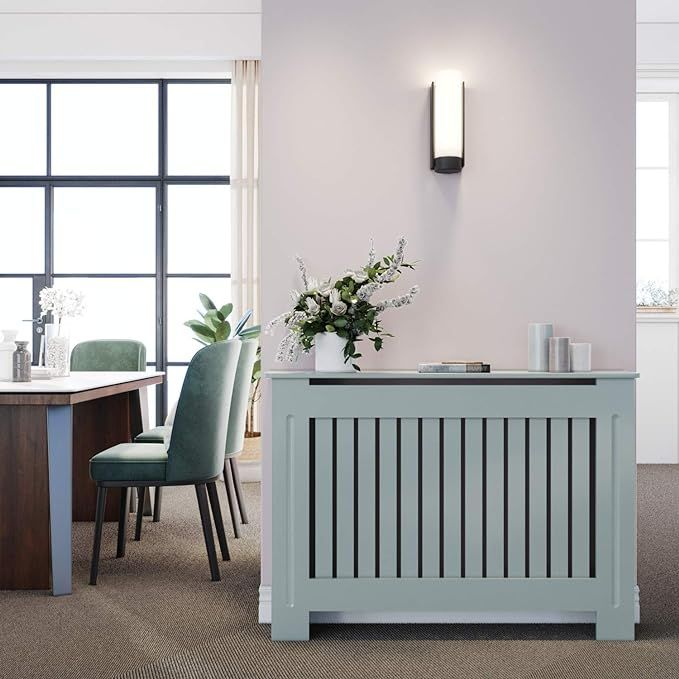
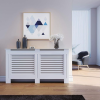
The radiator cover is a functional necessity, but its standard white finish can be bland. It sits in plain sight, doing its job, yet it rarely contributes to the look and feel of the room. That’s why it is a prime candidate for a simple DIY upgrade that can freshen the entire space in a weekend. A new finish transforms the cover from an afterthought into an intentional design choice.
White radiator covers show marks easily and fail to blend with modern interior design trends. White surfaces on warm components can also yellow over time, especially in busy areas like hallways and living rooms. If there are kids, pets, or frequent gatherings, scuffs and hand marks become visible fast. The result is a cover that looks tired and mismatched in an otherwise well-styled room.
A fresh coat of paint or stain can integrate the cover into your decor, turning an eyesore into a feature. With the right prep and heat-resistant products, the finish stays crisp and clean. You can blend it into the wall for a seamless look, go bold for drama, or celebrate natural wood for warmth. The process is straightforward, and the visual payoff is high.
This guide will walk through every step, from choosing the right heat-resistant paint for radiators to achieving a professional, smooth finish and selecting inspiring colours. It also covers cleaning, sanding, priming, and sealing, so the result lasts. By the end, the radiator cover becomes a design element that supports the style of the whole room.
Radiator Cover Paint Safety: Why Heat-Resistant Paint is Crucial
Radiator covers don’t reach the same temperature as the radiators themselves, but they do live in a steady warm zone. That means paint chemistry matters. Standard interior paints are formulated for ambient conditions, not for ongoing warmth or short bursts of higher heat. Under these conditions, they can soften, discolor, or degrade.
Heat-resistant coatings are engineered to handle this stress. They maintain colour, resist yellowing, and reduce the likelihood of cracking or peeling. They also help control odours by minimizing off-gassing as the cover warms up. This protects both the finish and indoor air quality during regular heating cycles.
How Hot Do Radiator Covers Get?
Covers usually sit a few degrees cooler than the radiator surface because of airflow and spacing. Even so, they experience consistent, low-level heat and periodic spikes when the system cycles. That’s enough to stress ordinary latex or acrylic paints over time. In small rooms, the air warms faster, which can intensify the effect. Choosing products designed for warm substrates reduces risk and keeps the finish stable.
Standard interior paint can yellow, crack, peel, or release fumes (off-gassing) when exposed to this heat. This is most obvious with whites and very light colours, where subtle changes are easy to spot. In high-traffic zones, the combination of warmth and wear hastens visible damage. A heat-tolerant system—primer, paint, and sealer—solves these problems at the source.
The Risks of Using the Wrong Paint on Your Radiator Cover
· Peeling and cracking leading to a shabby appearance. Once the film breaks, dirt and moisture can creep in, accelerating failure.
· Potential release of harmful volatile organic compounds (VOCs). Warm surfaces can amplify odour and irritation, especially in tight rooms.
· Discolouration, especially with whites and light colours. Yellowing and patchiness erode the clean look that light colours are chosen for.
The wrong paint wastes time and materials and leads to early rework. The right products let the cover look new season after season.
Best Paint for Radiator Covers: A Breakdown of Your Options
There are three main routes: heat-resistant spray paint, brush/roller-applied heat-resistant liquid paint, and specialty finishes like chalk paint with proper sealing. For wood lovers, staining plus a heat-tolerant clear coat is another durable path. Each option has its strengths depending on the cover’s material, design, and the desired look.
Heat-Resistant Spray Paint for Radiator Covers
Spray finishes are ideal for intricate grilles and decorative fronts because the atomized mist gets into small openings. The result is a thin, even film with a factory-like sheen. It’s excellent for metal covers and perforated patterns where brush access is limited.
Pros:
· Incredibly smooth, factory-like finish.
· Easy application on intricate grilles.
· Fast-drying, which helps reduce dust nibs.
Cons:
· Requires extensive masking and strong ventilation.
· Less control over application; runs are harder to fix mid-spray.
· Can be messy without a spray shelter or drop cloths.
Top UK Brands: Plasti-Kote High Heat and Hycote Heat Resistant Paint.
Application tips:
· Spray in light, overlapping passes, holding the can at a consistent distance.
· Start and end each pass off the surface to avoid splatters.
· Allow full flash-off between coats to prevent solvent entrapment.
Heat-Resistant Liquid Paint (Brushes/Rollers)
Brushes and mini-rollers excel on large, flat panels and square edges. They allow controlled build and easy touch-ups. With proper technique, the finish can be very smooth and consistent.
Pros:
· More control on edges and corners.
· Easier for large, flat surfaces.
· Broader colour range and less overspray risk.
Cons:
· Brush strokes can show if technique or thinning is off.
· Longer drying times, requiring patience between coats.
Top UK Brands: Frenchic Paint (chalk paint, requires sealing), Rust-Oleum Combicolor, and Zinsser Perma-White (a primer/topcoat that withstands heat and moisture).
Application tips:
· Use high-density foam rollers for panels and a fine synthetic brush for edges.
· Tip-off lightly in one direction to level the surface.
· Observe recoat windows to avoid lifting the previous coat.
Can You Use Chalk Paint on a Radiator Cover?
Yes, with the correct protection. Chalk paint is known for coverage, adhesion, and a velvety matte look. However, it is not inherently heat-resistant. Without sealing, it can mark, polish, or craze under warmth and everyday handling.
Crucial Step: Must be sealed with a heat-resistant wax or varnish (e.g., Fiddes Hard Wax Oil or a clear, heat-resistant lacquer) to protect it from heat and wear. Apply thin, even coats, allowing full cure between layers. The sealer adds durability while preserving the character of the matte finish. For a satin look, choose a compatible clear coat with a low sheen rating.
Can You Use Wood Stain on a Radiator Cover?
Yes, for wooden covers. Stain highlights the natural grain and pairs beautifully with wood floors, trim, and earthy palettes. It offers a timeless look that works in both classic and modern rooms.
Recommend using a water-based wood stain and then sealing with several coats of a heat-resistant water-based varnish (e.g., Ronseal Hardglaze) to protect the wood and finish. Water-based systems dry faster, have lower odour, and resist yellowing better than many oil-based alternatives. Apply multiple thin coats, sanding lightly between layers for a silky, durable finish.
Preparing Your Radiator Cover for Painting: The Key to Success
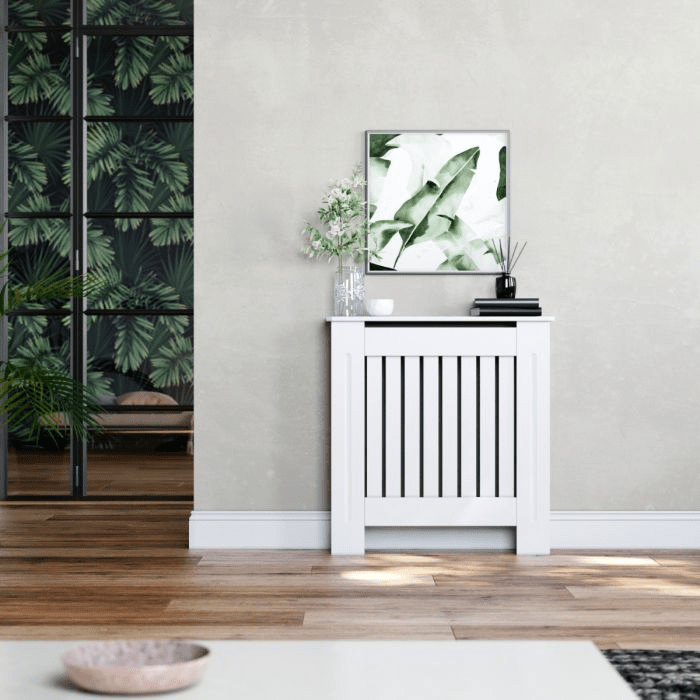
Great results start before the paint opens. Clean, sanded, and properly primed surfaces make coatings bond better and wear longer. Rushing prep is the fastest way to ruin a finish. Take the time here and the painting step becomes easier and more predictable.
Step 1: Removing the Radiator Cover
Safety should be your first priority. Ensure the radiator is completely cool. Warm panels can soften old finishes and trap fumes as solvents flash. Once cool, carefully detach the cover from the wall and bring it to a well-ventilated area. Protect floors and nearby furniture with drop cloths. If the cover is heavy or awkward, get a second pair of hands to avoid bending the grilles.
Label any screws or brackets in a small bag so reassembly is simple later. If there are adjustable feet or trims, photograph their placement before removal. Small reference photos save time at the end.
Step 2: Cleaning is Non-Negotiable
Remove all dust, grease, and grime with sugar soap and a degreaser. Rinse and let dry completely. Dirt interferes with adhesion, and residues can cause fisheyes or pinholes in the finish. For metal, wipe with a solvent-based prep cleaner after washing to remove any last traces of oil.
Use a soft brush to clean inside grille perforations. If the cover has mesh or cane inserts, vacuum gently with a brush attachment. The cleaner the surface, the smoother each coat will level.
Step 3: Sanding Your Radiator Cover
Use medium-grit sandpaper (120–150 grit) to lightly scuff the entire surface, especially if it’s previously varnished or has a glossy finish. The goal is not to remove all old paint, but to create a uniform, dull scratch pattern for the new coats to grip.
This creates a “key” for the new paint to adhere to. After sanding, inspect for dents or chips. Fill minor flaws with a suitable wood filler or metal putty, then sand smooth once cured. Wipe down thoroughly with a tack cloth to remove all sanding dust. Dust left on the surface becomes bumps in the finish.
Step 4: Applying a Primer
When is a Primer Needed? For bare wood, metal, or when making a dramatic colour change (e.g., dark to light). Primer evens out porosity, blocks tannins on wood, and improves the durability of the topcoat.
Use a high-adhesion, stain-blocking primer like Zinsser B-I-N or Bullseye 123. These are proven performers on mixed substrates and help achieve a professional result. Ensures durability and true colour payoff. Apply in thin, even coats, and give ample drying time before sanding lightly with fine grit to knock down raised fibers or dust nibs.
Radiator Cover Colour Ideas to Match Your Décor
Colour choice sets the tone, whether the goal is subtle cohesion or a standout feature. Consider lighting, adjacent finishes, and the room’s focal points. Sampling a few shades on the cover itself helps reveal how it behaves in daily light cycles.
The Disappearing Act: Blending with the Wall
Paint the cover the exact same colour as your walls for a seamless, built-in look. This reduces visual clutter and is ideal for minimalist and contemporary spaces. It works especially well in narrow hallways and small rooms, where fewer contrasts help the space feel larger.
For a near-invisible effect, also match the sheen level. If the wall is matte, choose a matte or eggshell topcoat on the cover and seal with a compatible heat-tolerant clear if needed. The consistent sheen helps the cover recede.
The Statement Feature: Bold and Dramatic
Use a contrasting, bold colour to turn the cover into a focal point. E.g., a deep navy, emerald green, or matte black. In neutral rooms, a rich hue on the cover creates a visual anchor. Pair with metallic grille accents for a layered designer look.
If choosing dark colours, apply a tinted primer to improve coverage and reduce the number of topcoats. A high-quality brush and careful tip-off technique minimize visible strokes on deep tones.
Modern Neutrals and Earthy Tones
Shades of grey, sage green, warm terracotta, or navy complement contemporary and Scandinavian interiors. These grounded colours add depth without overwhelming the scheme. They also pair well with natural textures like oak floors, wool rugs, and linen curtains.
To keep the palette cohesive, sample colours against existing woods and textiles. Cool greys favor blue undertones, while warm greys lean into beige or taupe. Choosing the right undertone ensures harmony across the room.
Wood Effect and Natural Finishes
Using wood stain to enhance the natural grain of a wooden cover brings warmth and authenticity. Light oak stains feel airy and modern; mid-tones like walnut or teak offer rich character. After staining, protect with a clear, heat-tolerant varnish for durability and easy cleaning.
If the cover isn’t real wood, consider a faux wood finish technique with glaze and careful brushing to simulate grain. Seal thoroughly to lock in the effect and resist heat-related wear.
Metallic Accents
Using heat-resistant metallic spray paints (like gold, brass, or copper) on the grilles or legs adds a touch of glamour. Metallics pair beautifully with dark frames and moody paint colours. For subtle elegance, limit metallics to hardware lines or perforated sections.
Mask precisely and spray light coats to avoid pooling in perforations. A light satin clear can protect metallics from fingerprints without dulling the sheen.
Conclusion
Painting or staining your radiator cover is a straightforward, high-impact DIY project that allows for immense creative freedom. With solid prep, the right heat-tolerant products, and patient application, the finish looks clean and lasts through many heating seasons. Even small changes, like matching the wall or adding metallic details, can refresh the entire room.
Success lies in the trio of correct preparation, using heat-resistant products, and applying paint with good technique. Step beyond white and use your radiator cover as an opportunity to enhance the room’s style and reflect personal taste. Whether the goal is a quiet blend or a bold statement, the right finish makes the cover look intentional and refined. Start with a sample board, test the sheen and colour, and move forward with confidence.
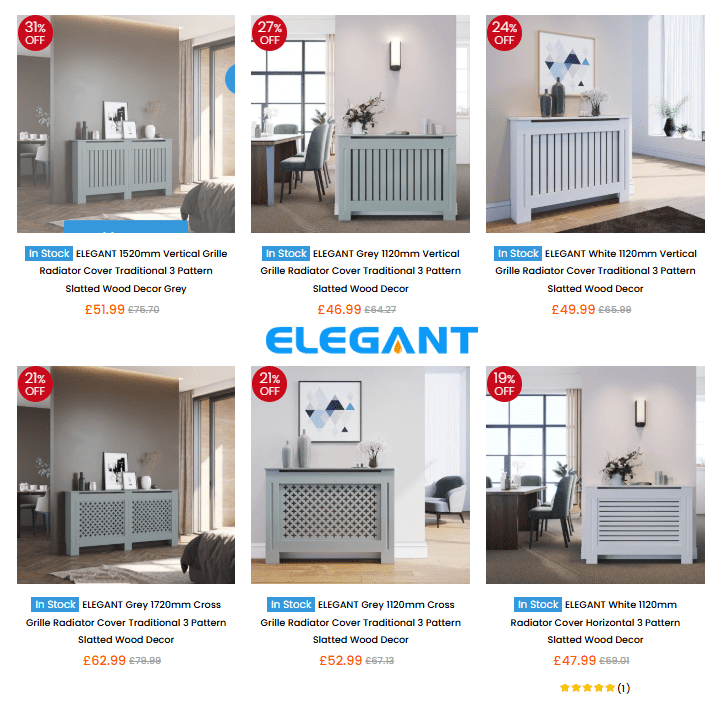
Consider visiting Elegant Showers UK Online Shop for more radiator cover solutions with professional consultation. Then you can explore a range of covers, colour ideas, and compatible paints and finishes. It will also help you get tailored guidance for specific materials and layouts. The right advice and products make this an easy project with a big design impact.




Validate your login