Embarking on a bathroom renovation with a new shower installation is an exciting project that promises to transform one of the most used rooms in your home. However, the journey from initial concept to the first luxurious shower in your new space is often paved with a universal question: “How long will this actually take?” Popular home improvement shows and optimistic contractor initial estimates can skew expectations, leading to frustration when reality sets in. The truth is, a full bathroom refurbishment is a complex symphony of trades, materials, and meticulous processes, not a single weekend task. This comprehensive guide, tailored to UK homeowners, will dissect every stage of the renovation timeline. By breaking down the process from planning and ordering to the final bead of sealant, we aim to manage your expectations and equip you with the knowledge to ensure your project runs as smoothly and swiftly as possible. While a typical bathroom renovation with shower installation can take anywhere from 4 to 8 weeks, understanding the ‘why’ behind each phase is key to navigating the journey successfully.

The Planning Phase: The Most Important Step for Your Bathroom Renovation Timeline
Arguably the most critical part of your entire bathroom remodel duration happens before a single tile is lifted or a pipe is touched. Thorough planning is the undisputed cornerstone of a efficient bathroom project planning schedule. Rushing this stage is the primary cause of costly delays and mid-project stress.
Design & Decision Making (1-3 Weeks): This is where your vision takes shape. You’ll need to finalise the layout—will the shower stay in the same place, or are you moving plumbing? Your choice of shower type—a pre-formed enclosure, a wet room, a walk-in shower—has significant timeline implications. Selecting all sanitaryware (toilet, basin), tiles, flooring, lighting, and fixtures cannot be an afterthought. Sourcing these items, especially if choosing non-stock, custom, or luxury pieces, can have lead times of several weeks. Indecision here will cascade into delays later.
Sourcing Contractors & Obtaining Quotes (1-2 Weeks): Securing a reputable, available bathroom installer or project manager is crucial. Obtain multiple detailed quotes, check references and previous work, and ensure your chosen tradespeople are aligned with your timeline. A skilled bathroom fitter’s schedule is often booked weeks in advance, so this step itself can add to your pre-construction phase.
Ordering Materials & Scheduling (1-2 Weeks): Once designed and contracted, all materials must be ordered. Confirm lead times for every key component: the shower tray, enclosure glass, specific mixer valve, tiles, and bathroom suite. A single back-ordered item can halt the entire project. Concurrently, work with your contractor to create a realistic renovation schedule, sequencing the work of plumbers, electricians, and tilers.
Demolition & First Fix (3-5 Days)
Demolition and Strip-Out: The Start of Physical Renovation Work
With plans set and materials arriving, physical work begins. The demolition stage is about clearing the canvas. This involves removing the old bathroom suite, tiles, flooring, plasterboard, and any stud walls. It’s a messy, noisy process but a swift one. A dedicated skip for waste removal is essential. This stage often reveals the first potential timeline variables: unexpected rot in floorboards, antiquated pipework, or even asbestos (requiring professional remediation).
First-Fix Plumbing and Electrical Work: The Hidden Framework
This is the behind-the-scenes magic that makes your bathroom function. First-fix plumbing involves rerouting and installing new water supply pipes and waste pipes to the locations specified in your plan. This is when the crucial shower trap and waste for your shower tray or wet room are set. Simultaneously, first-fix electrical work takes place, running cables for new lighting circuits, extractor fans, electric showers, or underfloor heating systems through wall studs and floor joists. Walls may be opened up, and necessary structural backing or battens for showers and wall-hung units are installed. Crucially, this is also the stage for installing waterproof cement boards or tanking systems in the shower area—a non-negotiable step for a leak-proof finish.

The Core Installation & Waterproofing Stage (5-10 Days)
Shower Installation Foundations: Tray, Tanking, and Boarding
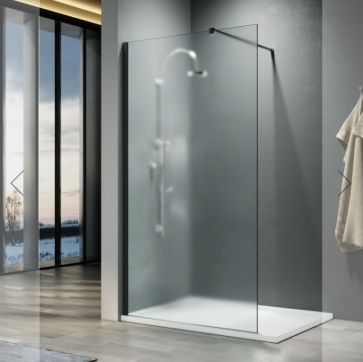
The shower zone now takes centre stage. The shower tray must be installed, perfectly levelled, and secured. For wet rooms, the subfloor is formed and shaped to create a gentle gradient towards the drain. Then comes the most important waterproofing step: applying the tanking membrane. This liquid or sheet-based system is meticulously applied to all walls and floors in the wet area, forming a continuous, watertight barrier. Never, ever skip or rush professional tanking; it is the ultimate guard against future leaks and damp.
Plastering and Wall Preparation for Tiling
Once first-fix work is complete and inspected, walls are made good. Any areas chased out for pipes or cables are filled, and walls may be re-skimmed with plaster to provide a perfectly smooth substrate. This plaster must then dry fully—a process that can take several days depending on ventilation—before tiling can commence.
The Tiling Process: A Major Time Factor in Your Renovation
Tiling is often the most time-consuming single activity in the renovation schedule. The duration depends heavily on complexity. Large-format tiles may go on walls faster but require more precise cutting. Intricate mosaic patterns or herringbone layouts are time-intensive. Tiling typically follows a logical order: walls first, then floors. After fixing, the adhesive needs time to set before grouting can be applied. Once grouted, a further essential curing time of at least 24-48 hours is required before any sealing and before the space can be used. Rushing this curing process is a common mistake that compromises the integrity of the work.
Second Fix & Final Fittings (4-7 Days)
Second-Fix Plumbing: Fitting the Shower Valve and Sanitaryware
With tiles sealed and solid, the room starts to look finished. Second-fix plumbing involves fitting all the visible elements: the shower mixer valve is connected to the previously installed pipes, the shower head and riser rail are mounted, and the toilet, basin, and their taps are securely installed and connected.
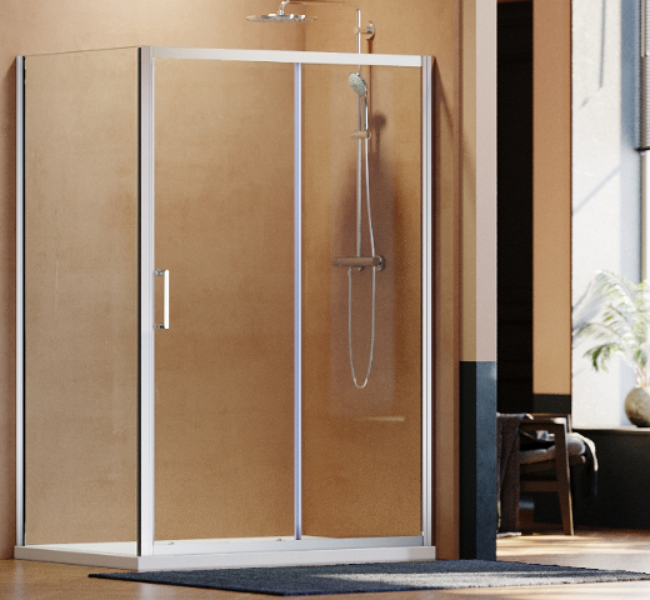
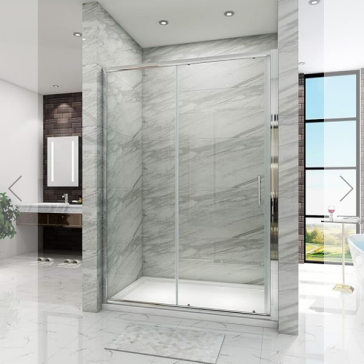
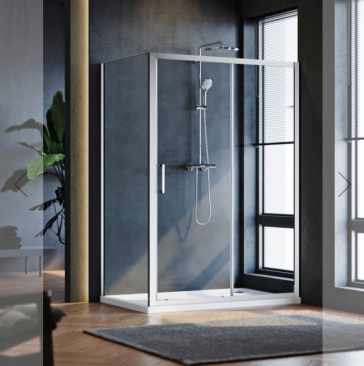
Shower Enclosure Installation and Sealing
The shower screen or enclosure doors are now carefully fitted. Precision is key to ensure perfect alignment and, most importantly, a complete seal. A high-quality sanitary silicone sealant is applied meticulously around the entire enclosure and where it meets the tiles. This is the final barrier against water escape.
Final Electrical Fittings and Lighting
The electrician returns to fit faceplates on switches and sockets, install light fixtures, the extractor fan grill, and connect any heated towel rails. All circuits are tested and certified.
Sanitaryware Sealing, Accessories, and Final Touches
The final aesthetic details bring the room to life. Silicone sealant is applied around the bath, basin, and toilet for a clean, waterproof finish. Mirrors, cabinets, shelving, toilet roll holders, and other accessories are mounted. This stage transforms the construction site into a functional bathroom.
Snagging, Cleaning, and Completion (2-3 Days)
The Snagging List: Finalising Your Bathroom Project
Even in the best-planned projects, minor issues—or ‘snags’—can arise. This is the time for a detailed walkthrough with your contractor to identify any touch-ups needed, such as a patch of grout, a slightly loose tile, or a drip from a pipe connection. A reputable contractor will expect this and schedule time for snagging rectification.
Professional Cleaning and Handover
A final, thorough professional clean removes construction dust and debris from every surface and fitting. You will then be handed over the completed space, along with all manufacturer warranties, manuals, and instructions for your new shower and fittings. This marks the official end of your bathroom renovation timeline.
Visual Timeline Breakdown: A Week-by-Week Gantt Chart
| Week | Phase & Key Activities |
|---|---|
| 1-4 | PLANNING: Design, contractor selection, material ordering. |
| Week 5 | DEMOLITION & FIRST FIX: Strip-out, plumbing/electrical rough-ins, tanking. |
| Week 6 | TILING & WATERPROOFING: Wall prep, tiling, grouting, curing. |
| Week 7 | SECOND FIX: Sanitaryware, shower valve, enclosure, electrical finishes. |
| Week 8 | SNAGGING & COMPLETION: Final touches, deep clean, handover. |
*Note: This is a consolidated 8-week example for a full renovation. Simpler projects may compress into 4-5 weeks.*
Key Factors That Can Accelerate or Delay Your Bathroom Renovation
What Can Delay Your Bathroom Renovation Timeline?
Understanding common pitfalls is your best defence against them:
-
Material Delays: The single biggest cause of holdups. Supply chain issues, incorrect deliveries, or long lead times for custom tiles and shower screens can pause work indefinitely.
-
Structural Surprises: Discoveries made during demolition—rotten joists, outdated plumbing, or unforeseen structural issues—require immediate and unplanned remediation.
-
Workforce Availability: Tradespeople are in high demand. Illness, overlapping projects, or adverse weather affecting other jobs can disrupt your carefully planned schedule.
-
Change of Mind: Altering decisions on tile choice or shower type after work has commenced (“change orders”) causes significant disruption and delay.
-
Planning and Permissions: While less common for standard renovations, projects in listed buildings or those involving significant structural changes may require permissions that add weeks.
How to Ensure Your Bathroom Renovation Stays on Schedule
-
Plan Meticulously: Finalise every design detail and material choice before starting.
-
Order Early: Secure all materials, especially long-lead items, before demolition day.
-
Choose Trades Wisely: Hire recommended, professional bathroom fitters with proven availability. Clear communication is vital.
-
Build in Contingency: A savvy homeowner and a good contractor will factor in a 10-15% time contingency for unforeseen issues.
-
Schedule a Daily Debrief: A quick daily check-in with your project lead can identify potential bottlenecks before they cause delay.
Conclusion: Patience and Planning are Your Best Tools
A bathroom renovation with a new shower installation is a significant undertaking where quality should never be sacrificed for speed. While the desire to enjoy your new sanctuary is understandable, the processes of waterproofing, tiling, and curing cannot be rushed without risking long-term problems. A realistic timeline of 4 to 8 weeks, governed by diligent bathroom project planning and clear communication with your tradespeople, provides a reliable framework. By respecting each stage of the renovation schedule, from the initial design to the final snag, you invest not only in a beautiful bathroom but also in a process that is as smooth and stress-free as possible.
Remember, good things—and dry, stunning, fully functional bathrooms—take time. For inspiration to begin your own carefully planned project, explore a wealth of shower room ideas and premium solutions at Elegant Showers. Viewing quality designs is an excellent first step in transforming your timeline from a plan into a reality.


Validate your login