

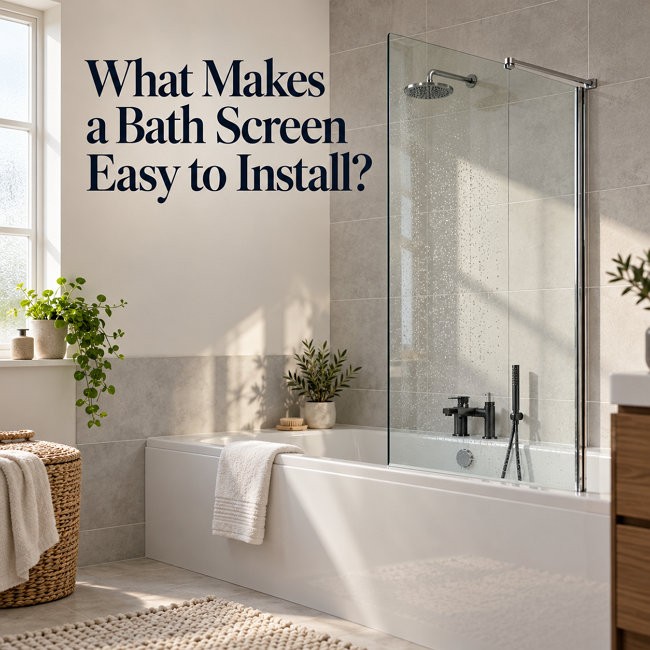
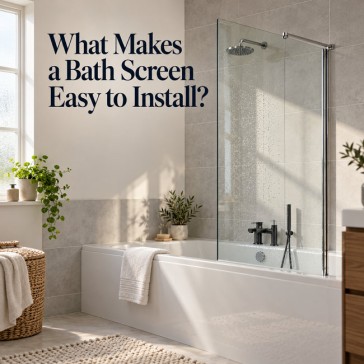
A bath screen is one of the most practical upgrades you can make to a UK bathroom, transforming a standard bath into a shower-bath without the expense of a full remodel. But anyone who has fitted one will tell you that “easy” is not a universal label. A screen that looks straightforward on a showroom floor can turn into a day of drilling, packing, and leak-chasing once it meets a real wall in a real British home. The difference between a hassle-free installation and a frustrating one comes down to specification: the features built into the screen before it ever leaves the box. This guide identifies the seven installer-checked features that make a bath screen genuinely easy to install, compares the main screen types by difficulty, walks through what a straightforward fitting looks like, and answers the questions UK homeowners ask most often.
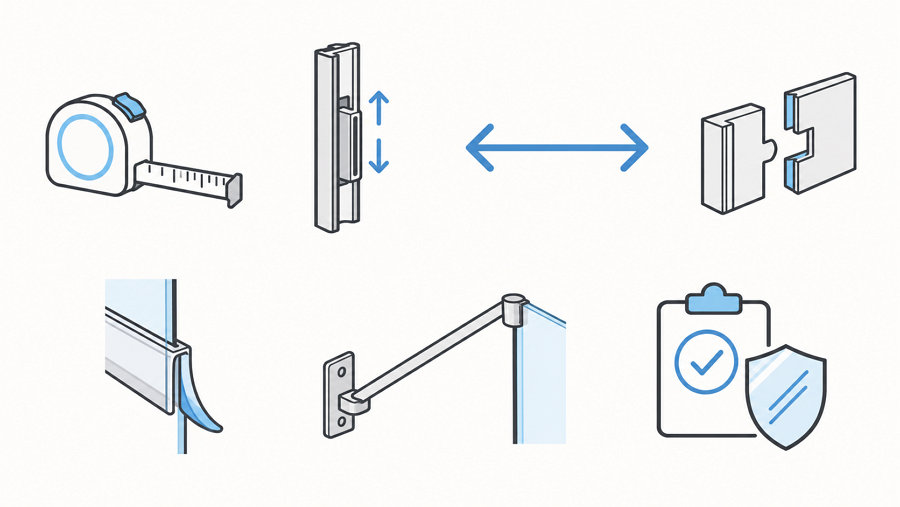
The 7 Installer-Checked Features of an Easy-to-Install Bath Screen
Before comparing styles or prices, use the checklist below to assess whether a screen is engineered for a smooth fit. These are the features that UK installers look for when they want a job finished on the first visit, without callbacks for leaks or wobble.
| Feature | What to Verify | Why It Matters for Installation Ease |
|---|---|---|
| Accurate dimensions | Finished fitting range, panel projection, mounting base compatibility | Prevents on-site surprises and costly returns |
| Adjustable wall profile | 15–25 mm wall compensation, minimum profile engagement | Fits out-of-true UK walls without re-tiling |
| Reversible / universal design | Left- or right-hand fitting, approved opening direction | Eliminates handing errors and site delays |
| Pre-assembled / modular components | Fewer loose parts, slot-and-tighten fixings | Cuts assembly time and lost-part risk |
| Push-fit sealing system | No adhesive required for vertical seals | Avoids 24-hour silicone cure waits for seals |
| Integrated support bar | Stabilising arm included or compatible | Allows semi-erection and safer working |
| Clear instructions and all fixings | Model-specific manual, complete fixing kit | One-visit installation, fewer merchant trips |
| UK safety certification | BS EN 14428, BS EN 12150, UKCA/CE marking | Removes guesswork; fixings and glass are rated |
Adjustable Wall Profiles: The Number-One Feature for UK Walls
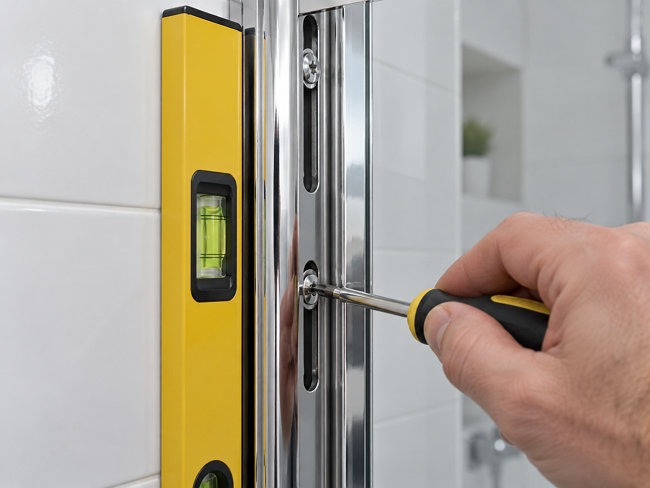
UK bathrooms are rarely blessed with perfectly plumb walls. In period properties and new builds alike, a wall that is 4–6 mm out of vertical across a 1.9-metre fixing height is entirely common. Without adjustment, the screen seals poorly, the door binds, and water finds its way out. A wall profile with built-in adjustment allows the installer to compensate for this deviation without packing, re-tiling, or resorting to compromises that compromise the seal.
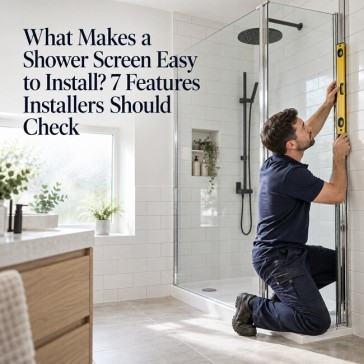
Adjustment ranges of 15 mm to 25 mm are standard on quality UK screens. Ideal Standard’s i.life bath screens, for example, pair 8 mm toughened safety glass with a wall profile offering 25 mm of adjustment for ease of installation. The Cooke & Lewis Nubia range provides up to 15 mm of wall profile adjustment and can even be mounted without silicone at the wall channel. Aveli fixed screens offer a 25 mm range (865–890 mm), accommodating minor wall inconsistencies for a precise fit. For wet-room systems, telescopic adjustment can reach up to 100 mm. The practical benefit is straightforward: no need to pack out the wall, no need to re-tile, and the screen still seals correctly. Installers should always check the wall with a 600 mm spirit level across the full fixing height before drilling and mark the outside of the profile within its adjustment range.
Reversible / Universal Fitting Design: Left or Right, No Wrong Order
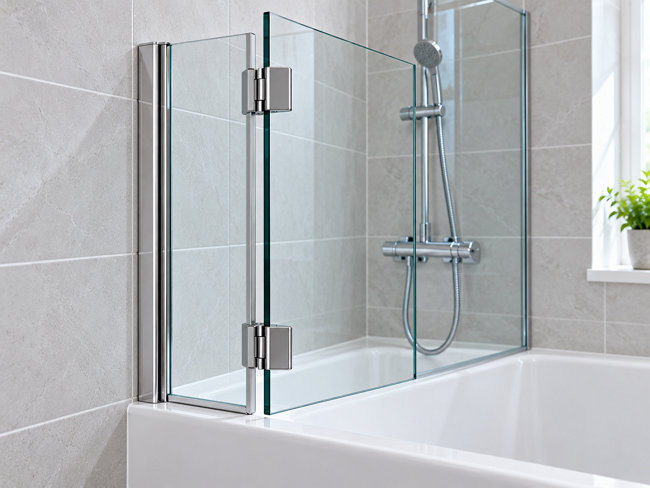
A reversible screen can be fitted to either the left or right-hand side of the bath without a separate handed variant. This is listed on product pages as “reversible” or “universal fitting”. The installation advantage is significant: it removes the risk of ordering the wrong handing, reduces stock-keeping complexity, and speeds up on-site decision-making. The Haro Three Fold Bath Screen is explicitly designed for universal fit with both left- and right-hand configurations. The Nexa by Merlyn Easy-Fit Folding Square Bath Screen is also reversible, allowing fitting at either end of the bath depending on where the water outlets are. For bath-over-shower conversions where the bath position may vary, or for replacement jobs where the existing layout is not entirely predictable, a reversible design is a low-cost feature that prevents a high-cost return journey.
Pre-Assembled / Modular Components: Fewer Loose Parts, Faster Fit
Components that arrive pre-assembled or as a modular system with minimal loose fixings reduce assembly time and the risk of lost or misidentified parts. Roman’s Haven Select enclosures are engineered so that installing the main frame is a simple “slot and tighten” process, with much of the enclosure pre-assembled at the factory. Modularity also allows screen-mounting components to be removed and replaced without dismantling the wall fixing plate or drilling new holes. For UK installers working on price-sensitive jobs, this matters because labour time is the dominant cost. A basic bath screen takes one to two hours; a pivot shower door can take three to four hours including removal, drilling, fitting, adjustment, and sealing. Every saved minute affects the final bill.
Push-Fit Sealing Systems: No Glue, No Long Cure Waits
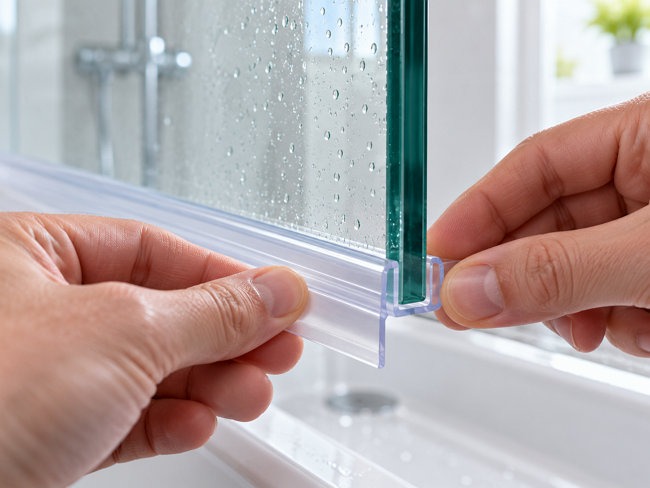
Push-fit seals and gaskets press onto the glass without adhesive, silicone, or specialist tools. Shower door seal strips are consistently described as “easy to install: simply push onto the glass – no gluing needed,” and reviewers confirm they can be trimmed without tools. The Homemate Anti-Fungal Shower Door Seal is manufactured in the UK with anti-fungal properties and pushes onto the base of the screen with no gluing; warming it gently in hot water softens the seal for easier fitting. The installation workflow benefit is considerable: push-fit seals eliminate the 24-hour silicone curing wait for vertical seals, though silicone is still required at the tray and wall junction. They also reduce callback risk because a mouldy or damaged seal is a five-minute replacement, not a half-day dismantling job.
Integrated Support Bars and Stabilising Arms: Rigidity Without Extra Wall Fixings
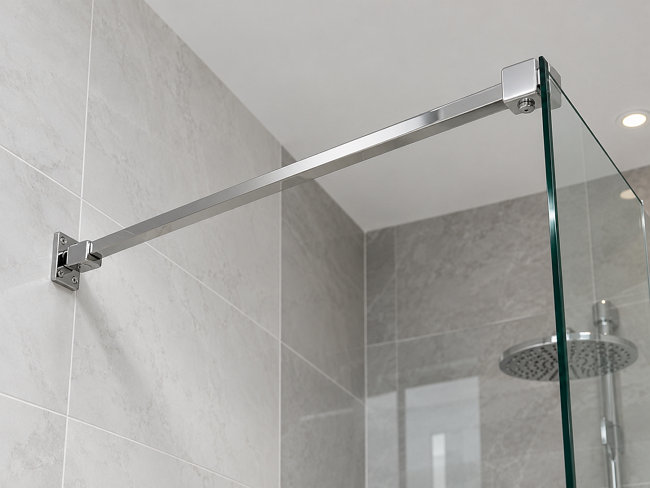
Frameless and semi-frameless screens can sway if unsupported. A support bar or stabilising arm transfers lateral loads to the wall and allows the screen to be semi-erected and left self-supported while the installer completes sealing or other tasks. This feature contributes to the structural integrity of the installation and supports compliance with impact-protection expectations under Building Regulations Part K4. For the installer, it means less risk of the glass moving while silicone is being applied—a small detail that makes a meaningful difference to the quality of the finished seal.
Clear Instructions and All Fixings Included: The “One-Visit” Screen
A screen that arrives with model-specific installation instructions and a complete fixing kit—screws, wall plugs, screw caps, seals, and wall channels—is a screen that can be finished without a trip to the merchant. Victorian Plumbing’s fitting guide notes that the glass screen, frame, screws, screw caps, seal, wall channels, and wall plugs are usually supplied, with silicone sealant being the main separate purchase. Screens that require non-standard drill bits or missing components add delay and frustration. The quality of the instructions matters as much as the presence of the fixings: vague diagrams and absent written steps are a recurring complaint in UK DIY forums, and they turn a straightforward job into an unnecessarily difficult one.
UK Regulatory Compliance: BS EN 14428, BS EN 12150, and Part K4
Compliance is not a bureaucratic afterthought; it is an installation-ease feature because it allows the installer to trust the fixing points, glass specification, and structural integrity defined by the manufacturer.
-
BS EN 14428 is the European standard for shower enclosures, covering functional requirements and test methods. It is the UK implementation of EN 14428:2015+A1:2018 and ensures the product is fit for purpose in a domestic bathroom.
-
BS EN 12150 requires thermally toughened safety glass for shower screens. This is non-negotiable: standard float glass has no place in a bathing area.
-
Building Regulations Part K4 covers impact protection with glazing that people may contact, and glazing within 800 mm of the bottom of a bath or shower should be safety glass conforming to BS 6262-4.
A screen that carries the appropriate UKCA or CE marking and references these standards removes guesswork. The installer knows the glass will not shatter into dangerous shards if struck, and the fixings are rated for the load.
Bath Screen Types Ranked by Installation Ease
Not all screen styles demand the same level of skill. The table below ranks the main UK options by installation difficulty, alongside the key consideration for each.
| Screen Type | Installation Difficulty | Key Installation Consideration | Best For |
|---|---|---|---|
| Fixed / static panel | Easiest (fewest moving parts) | Single wall channel; no hinge alignment | Simple splash protection, fastest DIY fit |
| Folding / concertina | Easy | Universal fit common; hinge seals need care | Small bathrooms, space-saving |
| Hinged / pivot | Moderate | Requires level hinge alignment and wall plumb | Easy access, standard baths |
| Sliding | Moderate to high | Track must be assembled square; door adjustment needed | Compact bathrooms, no swing clearance |
| Frameless | More demanding | Walls must be perfectly plumb and level | Luxury look, professional installation |
| Semi-frameless | Straightforward | More forgiving of minor wall imperfections | Best balance of ease, cost, and style |
Why Frameless Is Not Automatically “Easy”
Frameless screens demand perfectly plumb and level walls, and older UK properties often require templating or adjustment. The glass is heavier—often 8 mm or 10 mm—and requires premium hardware and careful sealing. While the aesthetic is undeniably clean, the installation is less forgiving. A fully installed frameless walk-in screen with one fixed panel and one door typically costs between £800 and £1,500, reflecting the precision involved. Semi-frameless screens are generally quicker and less technically demanding for competent DIYers, making them the smarter choice when installation ease is a priority.
Why Folding Screens Are Often Marketed as “Easy-Fit”
Folding or concertina screens are frequently described as simple to install because they are designed for universal fit, with both left- and right-hand configurations available. The Haro folding screen is a good example: a concertina design that folds back for access and is explicitly marketed as easy to install. The Hydrolux four-panel folding screen can be mounted on most flat-rimmed baths and is described as easily fitted by a bathroom installer. The trade-off for this convenience is that hinge and seal areas need regular cleaning to prevent mould and limescale, but from an installation standpoint, the reduced alignment complexity is a genuine advantage.
Fixed Panels: The Simplest Route
A single fixed pane with one wall channel is the least complex screen to fit. There are no hinges to align, no tracks to square, and no moving parts to adjust. The installation focuses on a secure wall fixing and a clean silicone bead. For baths where access to taps is not compromised and the screen does not need to move, a fixed panel offers the fastest route to a watertight result. The trade-off is less flexibility in use, but for a straightforward splash guard, it is hard to beat on installation simplicity.
Step-by-Step Overview: What a Straightforward Bath Screen Installation Looks Like
Understanding the process helps separate marketing claims from reality. A straightforward bath screen installation typically follows these stages.
Preparation and Parts Check
Unpack the screen immediately and check for damage or missing parts. Confirm the contents against the instructions. Turn off the water at the mains before any bathroom work. The tools required are modest: an electric drill, a spirit level (ideally 600 mm or longer), a tape measure, a pencil, a sealant gun, screwdrivers, a tile drill bit (typically 6 mm), and a masonry bit (6–8 mm). Masking tape is useful for reducing slipping and chipping when drilling tiles.
Wall Channel Positioning and Drilling
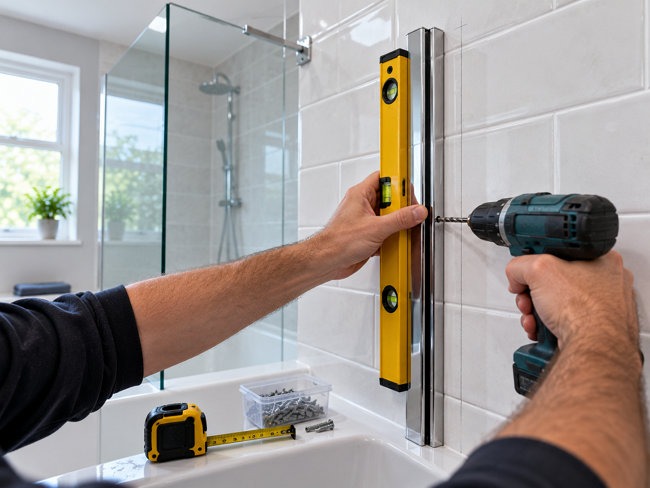
Offer the wall channel to the wall and use a spirit level to ensure it is perfectly vertical. Mark the screw holes, checking for hidden pipes and wires before drilling. On tiled walls, use a tile drill bit at slow speed with no hammer action to pass through the tile, then switch to a masonry bit for the plug depth. Insert wall plugs and screw the channel to the wall, taking care not to overtighten and distort the frame. Fixings are usually spaced 300–400 mm apart.
Glass Panel and Fixings
Slot the glass into the wall channel. Drill through both the channel and the screen using the recommended bit size, then screw the screen into the channel and cap the screws. For hinged screens, align the hinge mechanism and tighten grub screws evenly. Larger panels are safer handled by two people.
Sealing and Curing
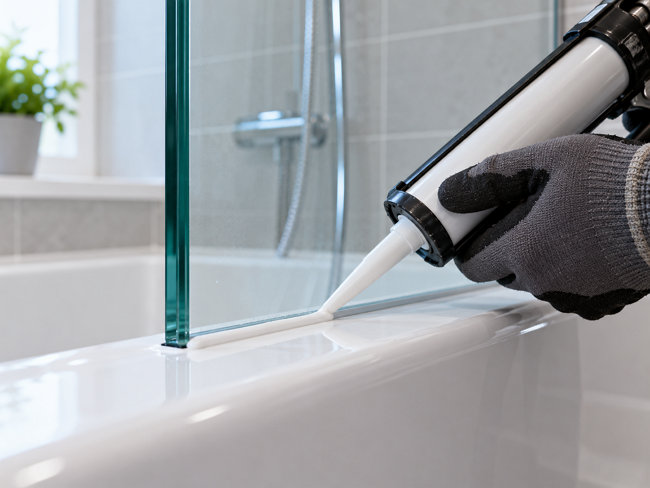
Fit the bottom seal with the flap on the inside of the screen and trim to length. Apply silicone externally along the wall profile and the base where the screen meets the bath or tray. Do not seal the inside edge of the frame: most systems are designed to allow trapped water to drain back into the shower area. Allow at least 24 hours for silicone to cure before using the shower.
Typical time: A straightforward bath screen takes one to two hours including drilling, fixing, and sealing. A simple fixed panel can be completed in around 30 minutes to 90 minutes depending on the wall surface, and some folding screens have been reported as fitted in as little as 15 minutes by experienced DIYers.
Troubleshooting: What Makes a “Difficult” Installation (and How Easy Screens Prevent It)
Uneven or Out-of-Plumb Walls
A wall that is out of true causes poor sealing and binding doors. This is the most common installation obstacle in UK bathrooms. An adjustable wall profile of 15–25 mm compensates without re-tiling, and the installer can align the panel so it sits square on the bath. If the wall deviates by more than the profile’s range, packing or preparation becomes necessary—which is why checking the wall before purchase is essential.
Leaking Seals and Hinge Leaks
Leaks are the most frequent post-installation complaint. Common causes include hardened seals, silicone applied to both sides of a joint (trapping water), and an incorrectly positioned bottom seal. The easy-screen solution is a push-fit replaceable seal system, which reduces callback risk and simplifies maintenance. For hinge leaks, replacing the bottom seal with a correctly sized push-on strip or fitting a threshold strip at the hinge corner can resolve the issue. If a leak persists, remove all silicone, clean the joint thoroughly, and reapply only to the external edge.
Damaged Tiles and New Drill Holes
Replacing a screen often means drilling new holes in tiles, which risks cracking and leaves visible damage. Easy-fit replacement screens such as the Nexa by Merlyn range are designed to allow screen replacement without drilling new holes, leaving no damaged tiles on display. This feature is particularly valuable in rental properties or recently renovated bathrooms where tile matching is difficult.
Wobbly or Unstable Panels
Frameless panels can sway if unsupported, especially on stud walls. An integrated support bar stabilises the panel and allows semi-erection during installation. Where a support bar is not included, it should be specified as an accessory. On stud walls, proper timber noggins or heavy-duty cavity anchors rated for glass loads are essential; standard plasterboard fixings will eventually fail.
Conclusion: Specifying an Easy-to-Install Bath Screen First Time
Installation ease is not a marketing slogan; it is the sum of specific, verifiable features. Adjustable wall profiles that compensate for out-of-true UK walls, reversible designs that eliminate handing errors, modular components that reduce loose parts, push-fit seals that cut curing waits, support bars that stabilise the panel, complete fixing kits, and UK certification that removes guesswork—these are the features that separate a one-visit screen from a full-day frustration.
Because UK walls are rarely plumb, the single most valuable feature for a hassle-free fit is a 15–25 mm adjustable wall profile. It is the difference between a screen that seals correctly and one that leaks from the first shower. Always verify BS EN 14428 and BS EN 12150 certification before purchase; compliant products are tested for structural integrity, which removes uncertainty during installation. Use the seven-feature checklist when comparing screens. A screen that arrives with all fixings, clear instructions, and a replaceable seal system is a screen that gets finished on the first visit—and stays leak-free for years.
If you would rather skip the guesswork and start with a screen that already meets these criteria, explore the bathtub shower screen range at Elegant Showers (https://www.elegantshowers.co.uk). With BS EN 12150 toughened safety glass and clear, model-specific guidance, it is a practical place to find a screen that gets fitted once and fitted right.

Validate your login