

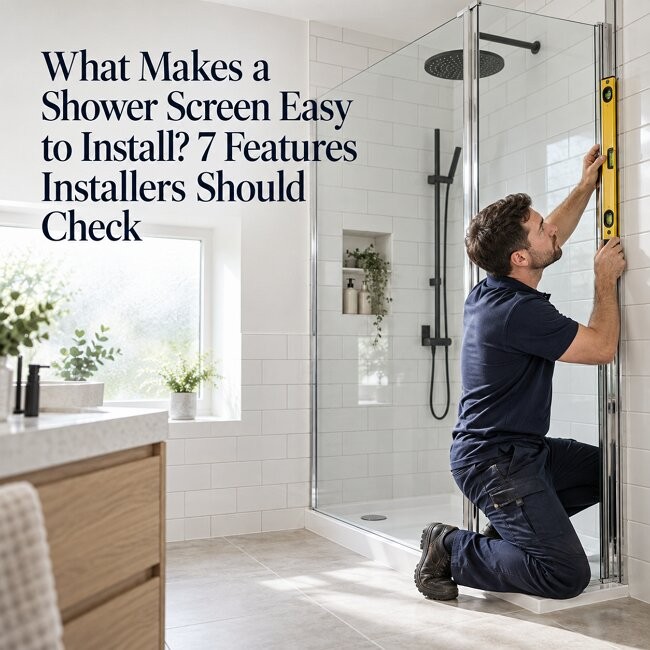
Shower screen installation is one of the most common bathroom upgrade tasks in the UK, but a poorly specified screen can turn a straightforward job into a full day of drilling, packing, and cursing. Leaks, wobbly panels, damaged tiles, and costly callbacks are all too familiar for installers who have fitted a screen that looks the part on a showroom floor but fights back on site.
This article identifies the seven specific features that make a shower screen genuinely easy to install, from an installer's perspective. It covers the UK regulatory backdrop—including BS EN 14428 for enclosures, BS EN 12150 for toughened safety glass, and Building Regulations Part K4 for impact protection—alongside practical installation detail that matters when you are on your knees in a bathroom with a drill in hand.
Easy-to-install shower screens: the seven-feature installer checklist
Use this checklist when comparing shower screens. Ask the supplier to clarify missing specifications before placing an order, particularly for replacements where existing tiles, fittings and access restrict your options.
| Feature | What installers should verify |
|---|---|
| Accurate dimensions | Finished fitting range, panel projection and compatible mounting base |
| Adjustable wall profile | Permitted wall compensation and minimum profile engagement |
| Reversible design | Approved handing, opening direction and usable access |
| Practical fitting kit | Complete components, accessible fixings and clear instructions |
| Suitable safety glass | Panel specification, product weight and handling requirements |
| Compatible supports | Required bracing, fixing positions and included accessories |
| Clear sealing system | Correct seals, silicone locations and curing requirements |
Check optional accessories and delivery contents. Keep the selected model’s instructions available throughout installation. Similar-looking screens can require different assembly sequences, fixing arrangements and sealing details.
Feature 1: Adjustable Wall Profiles (Out-of-True Wall Compensation)
The problem: UK bathrooms—especially in period properties and new builds—rarely have perfectly vertical or square walls. A wall that is 4–6 mm out of plumb across a 1.9 m fixing height is common. Without adjustment, the screen seals poorly, the door binds, and water finds a way out.
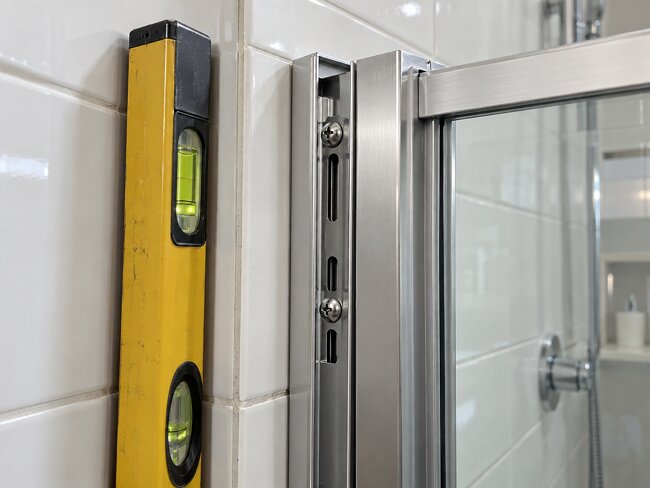
The feature: A wall profile or wall jamb with a built-in adjustment range that allows the installer to compensate for walls that are out of plumb or out of true. The wall channel design specifically allows shower screens to be adjusted so that they can be used on wall surfaces that are not vertical.
Typical adjustment figures: Adjustment ranges of 15 mm to 25 mm are standard on quality UK screens. Some wet room systems offer up to 100 mm telescopic adjustment. Victorian Plumbing's Arezzo wet room screens, for example, have an adjustable wall-mounted profile to achieve the desired distance from the side wall.
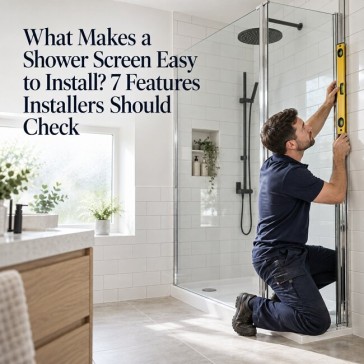
Installation benefit: No need to pack out the wall, no need to re-tile, and the screen still seals correctly. Installer tip: always check the wall with a 600 mm spirit level across the full fixing height before drilling. Mark the outside of the wall profile within the adjustment range so you know where the channel can sit.
Feature 2: Reversible / Universal Fitting Design (Left or Right Hand)
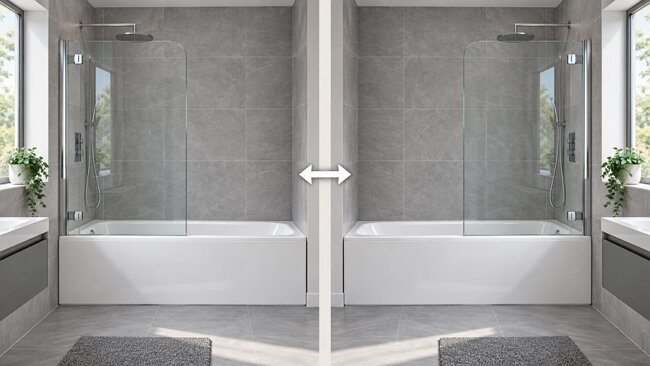
The feature: A screen that can be fitted to either the left or right hand side without needing a different model or a handed variant. This is described on product listings as "reversible" or "universal fitting".
Why this matters for installers: It reduces stock-keeping complexity, eliminates the risk of ordering the wrong handed version, and speeds up on-site decision-making. The Arezzo Matt Black Curved Bath Screen is "reversible so can be used with both left and right handed baths". The Rinse walk-in wet room screen features "reversible fitting – can be fitted either on left or right hand opening" with a return panel that can be rotated 180 degrees to fit the shower room.
Compare with handed screens: Handed configurations simplify the installation process by removing left/right specification decisions, but they lock the installer into a specific orientation. If you arrive on site and discover the bath is on the opposite side to what the customer described, a handed screen becomes a return journey.
Practical note: Reversible screens are particularly valuable for bath-over-shower conversions where the bath may be positioned on either side of the room. The 300 mm return panel on Rinse screens can be rotated 180 degrees to suit the layout.
Feature 3: Pre-Assembled or Modular Components (Fewer Loose Parts)
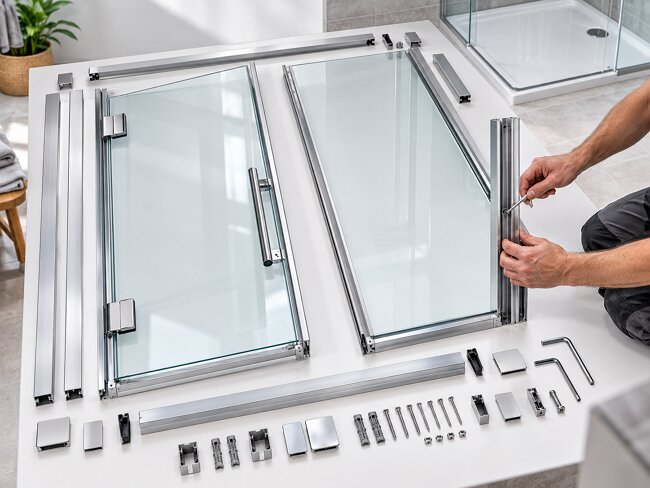
The feature: Components that arrive pre-assembled or as a modular system with minimal loose fixings, reducing assembly time and the risk of lost or misidentified parts.
Evidence from the market: Roman's Haven Select enclosures are "engineered so that installing the main frame of the shower enclosure is a simple 'slot and tighten' process that takes just seconds. The main profiles are designed to interlock easily during on-site assembly. Much of the enclosure is pre-assembled at the Roman factory, streamlining final installation to be fast, straightforward, and hassle-free". Roman's designers have transformed fully framed units into modular sections—the sliding door comes in two parts: a pre-assembled door and a pre-assembled panel, packed separately with the top and bottom rails detached.
Modularity benefit: Patent literature describes how modularity allows the screen-mounting support member to be removable and easily replaceable without having to dismantle the wall fixing plate and potentially drilling more holes into the wall. Pre-fabricated modular shower enclosures can be delivered to a job site as a collection of components requiring only simple assembly, without the long delay associated with typical adhesive and cement drying times.
UK-specific note: Installers working on price-sensitive jobs benefit most from modular designs because labour time is the dominant cost. A basic bath screen takes 1–2 hours; a pivot shower door 3–4 hours. Every saved minute matters.
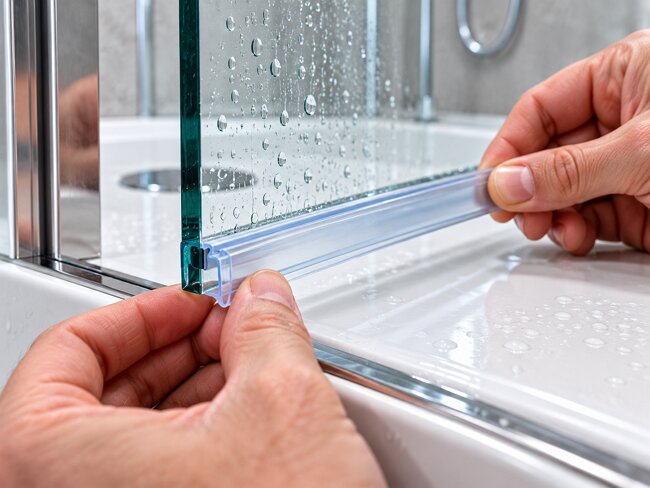
Feature 4: Push-Fit Sealing Systems (No Adhesive Required)
The feature: Seals and gaskets that push onto the glass without glue, silicone adhesive, or specialist tools.
Evidence: Shower door seal strips are consistently described as "easy to install: simply push onto the glass – no gluing needed" with reviewers confirming they can be trimmed "without using any tools". The Homemate Anti-Fungal Shower Door Seal is "made in the UK, this shower door seal is uniquely manufactured with anti-fungal properties so it won't discolour over time" and "simply pushes on to the base of the shower door screen – no gluing needed. Top Tip: warming gently in hot water will help soften the seal making it easier to fit".
Installation workflow: Push-fit seals eliminate the 24-hour silicone curing wait for the vertical seals (though silicone is still required at the tray/wall junction). The BSP Wedge Seal uses a push-fit design that "stays securely in place once fitted into the channel" without adhesive.
Installer insight: Push-fit seals reduce the risk of callbacks because they can be replaced without dismantling the screen. A mouldy or damaged seal is a 5-minute fix, not a half-day job.
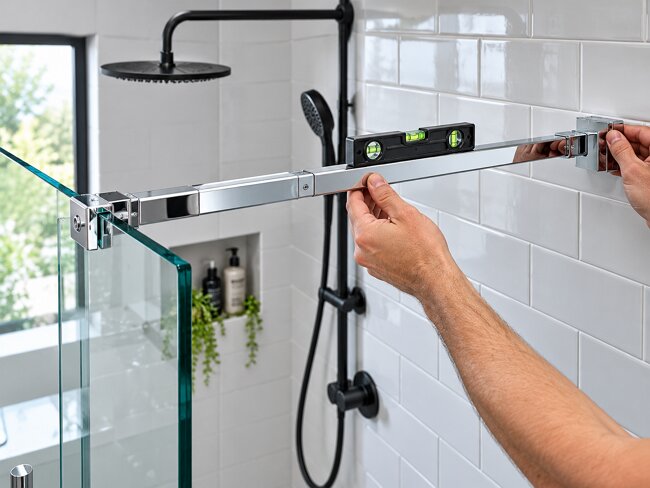
Feature 5: Integrated Support Bars and Stabilising Arms
The feature: A support bar or stabilising arm that reinforces fixed glass panels and prevents movement without requiring additional wall fixings.
Why this matters: Frameless and semi-frameless screens are inherently less rigid than framed enclosures. A support bar transfers lateral loads back to the wall, preventing the panel from swaying or bowing under shower spray.
Evidence: The EMKE Telescopic Support Bar is designed for wet room shower screens and bath panels, "providing a sturdy and adjustable solution. Made from high-quality stainless steel with a shiny chrome-plated finish, this support bar is rustproof and suitable for various applications". It is "steplessly extendable from 700mm to 1200mm" and fits 8–10 mm glass.
Installation benefit: A properly installed support bar allows the screen to be semi-erected and left self-supported while the installer attends to other tasks. The support bar also contributes to structural stability in line with Requirement K4 of the Building Regulations 2010, which deals with protection against impact with glazing with which people are likely to come into contact whilst moving in or about the building—this can include protection against impact with shower screens.
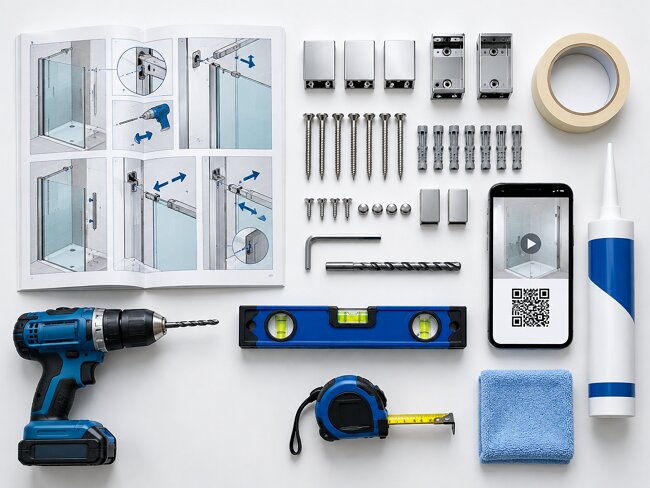
Feature 6: Clear, Model-Specific Installation Instructions (and All Fixings Included)
The feature: Comprehensive, model-specific installation documentation and a complete fixing kit in the box.
Evidence: Flair International states that "all Flair products are supplied with clear, easy-to-read installation instructions and are simple to install". A Merlyn Ionic screen was described by an installer as "easy to fit by a DIY customer provided the comprehensive instruction is studied and followed". ELEGANT screens include "full installation instructions and all necessary fixings" with concealed fittings and top cover caps.
Contrast: Screens that require separate purchase of silicone sealant, wall plugs, or non-standard drill bits add trips to the merchant and delay completion. A screen that arrives with everything needed—except tools and silicone—is a screen that gets finished on the first visit.
UK tool reality: Most bath screen installations require a 6 mm or 8 mm masonry bit, a spirit level (600 mm+), silicone sealant, and a drill with variable speed. The Plumbworld installation guide specifies using a 4 mm masonry drill bit to drill 3 × 35 mm deep holes for the wall fixings, then attaching the adjustable wall channel using 3–4 mm × 30 mm screws.
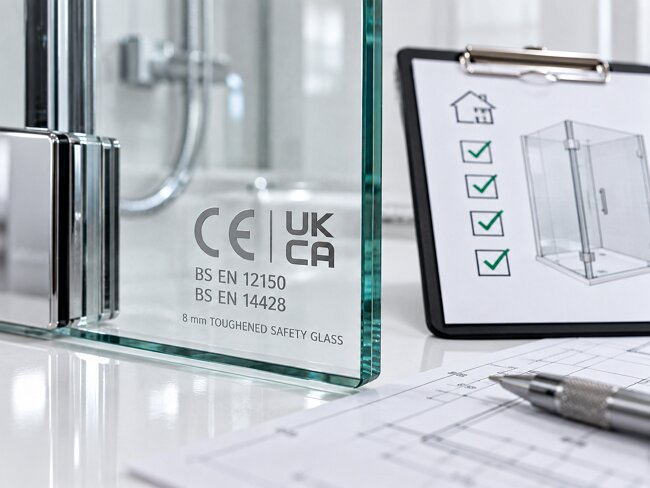
Feature 7: UK Regulatory Compliance and Safety Certification (BS EN 14428, BS EN 12150, CE Marking)
The feature: A screen that arrives with verifiable safety certification—not just a marketing claim.
The standards: BS EN 14428 is the European Standard that specifies characteristics for shower enclosures for domestic purposes which ensure that the product, when installed in accordance with the manufacturer's installation instructions, gives satisfactory performance when used as intended. BS EN 12150 covers thermally toughened soda lime silicate safety glass—the glass used in shower screens. Products are routinely described as "8mm toughened safety glass to BS EN 12150-1" and "tested and certified BS EN 14428 Shower Enclosures UKCA / CE Marked".
Why certification makes installation easier: A certified screen has been tested for structural integrity, meaning the installer can trust the fixing points and glass thickness specified in the instructions. Compliance removes guesswork—the installer knows the glass is safe, the fixings are rated, and the product will pass building control inspection if required.
2026 compliance context: "Every shower enclosure sold and fitted in Great Britain must meet a specific set of legal requirements designed to protect users from impact injuries, water damage, and structural failure". Shower screen compliance involves several overlapping requirements covering the product, safety glazing, installation, and the building in which the screen is installed.
FAQs: People Also Ask About Shower Screen Installation
What type of shower screen is easiest to install?
The easiest screen is one whose dimensions, adjustment range and mounting requirements match the bathroom. Clear instructions and accessible fittings also help. Framed or frameless styling alone cannot determine installation difficulty; compare the complete specification against the finished site conditions.
Can you fit a shower screen to an uneven wall?
An adjustable wall profile can accommodate the variation permitted by its design. Measure the wall and check the manufacturer’s limits. A bowed, damaged or excessively leaning surface may require preparation or a different fixing arrangement before the screen can fit.
Should you silicone a shower screen inside or outside?
Follow the sealing diagram for the exact product. Bath screens and wetroom panels can specify different sealing locations. Applying silicone everywhere may interfere with intended drainage. Check the manual before sealing and use the specified compatible product on prepared surfaces.
Is 6 mm or 8 mm glass better for a shower screen?
Neither thickness is universally better. Compare panel dimensions, weight, support requirements and the complete product specification. The appropriate choice should satisfy the manufacturer’s intended application and suit the installation site. Glass thickness alone does not establish safety or fitting ease.
How do I stop my shower screen from leaking?
Ensure the wall iswithin 2–3 mm of vertical across the fixing height. Seal all edges of the tray to the wall before fitting the wall channel. Silicone the outside of the glass and wall channel. Allow 24 hours for silicone to cure.
Ready to specify a certified, installer-friendly shower screen? Explore the full range of ELEGANT walk-in screens and wet room panels at Elegant Showers UK. With universal left-or-right fitting designs, stainless steel support bars that can be cut to size, and 6 mm or 8 mm safety tempered glass options, the range is built to make UK installation straightforward. Browse the full certified shower screen range at elegantshowers.co.uk and fit a screen that meets the standard, first time.

Validate your login